theFASHIONtamer Where Style Meets Space, Effortlessly
 Are you ready to breathe new life into your dining room without breaking the bank? Whether you’re seeking a cozy nook for family meals or an elegant space for entertaining guests, a few inspiring DIY projects can make all the difference. In this listicle, we present 29 inspiring DIY Dining Room Projects designed to transform your space on a budget. From clever furniture hacks and charming decor ideas to innovative storage solutions, these projects are perfect for any skill level. By the end of this article, you’ll be equipped with fresh ideas and practical tips that will empower you to create a dining area that reflects your personal style while keeping your wallet happy.Get ready to roll up your sleeves and embark on a journey of creativity and transformation!
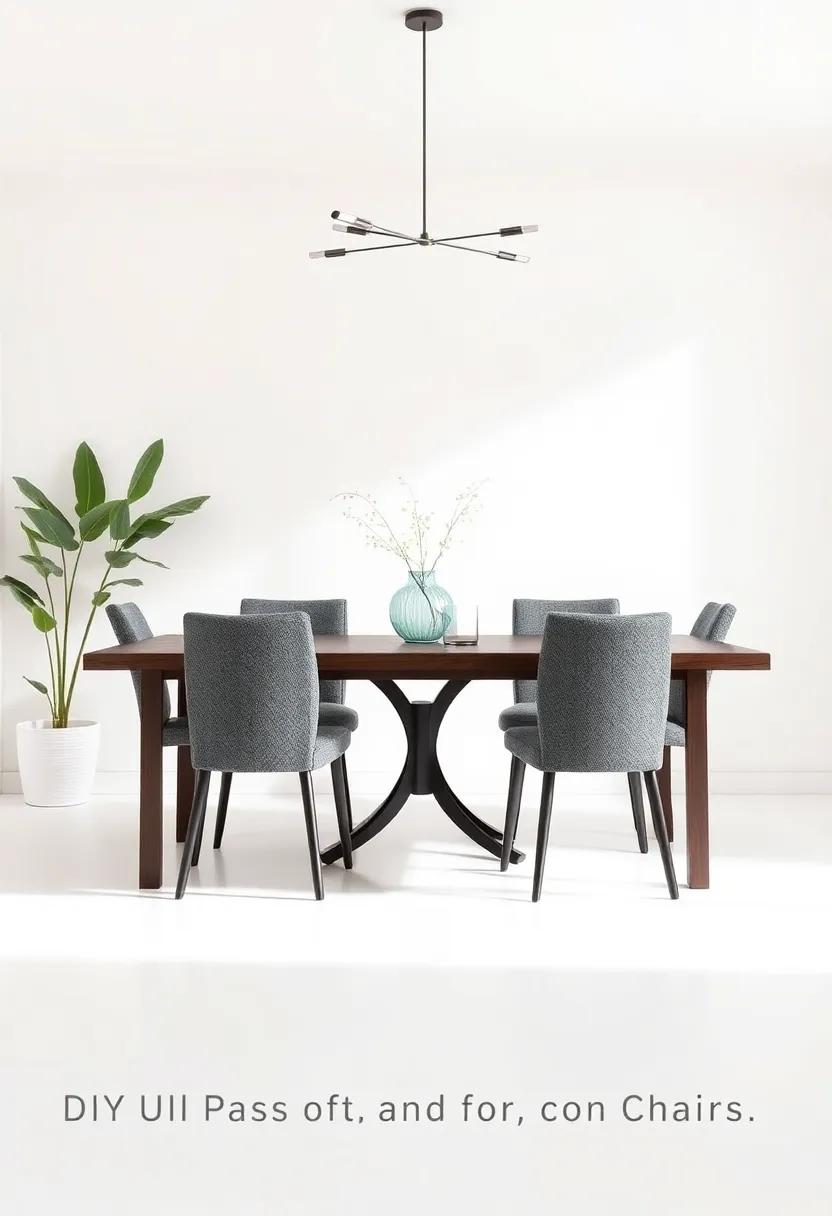
Revamp Your dining Chairs with bold Upholstery

Transforming your dining chairs can be an exhilarating journey that breathes new life into your entire dining space. By selecting bold upholstery, you can instantly elevate the aesthetic appeal of your furniture. Consider opting for fabrics with striking patterns or vibrant colors that contrast nicely with your existing decor. fabrics like velvet, linen, or faux leather can create a dynamic focal point, turning your dining chairs into statement pieces that spark conversation.When reupholstering, ensure to use high-quality batting for cushioning, wich not only enhances comfort but also prolongs the life of your chairs.
To get started, gather your supplies, including fabric, scissors, a staple gun, and a screwdriver for disassembling the chairs. Prioritize fabrics that are both stylish and practical; choose materials that are stain-resistant or easy to clean, especially for a dining setting. Explore options such as:
- Floral Prints: Perfect for a cheerful and inviting atmosphere.
- Geometric Patterns: Ideal for a modern and stylish look.
- solid Vibrant Colors: Great for making a bold statement and tying the room together.
After selecting your fabric,play around with different textures and layers. You might even consider mixing patterns for a more eclectic vibe. For reference, here’s a swift table outlining some popular upholstery options along with their characteristics:
| Fabric Type | Durability | Maintenance |
|---|---|---|
| Velvet | High | Moderate |
| Linen | Moderate | High |
| Faux Leather | High | Low |
Create a Stunning Accent Wall with Removable Wallpaper
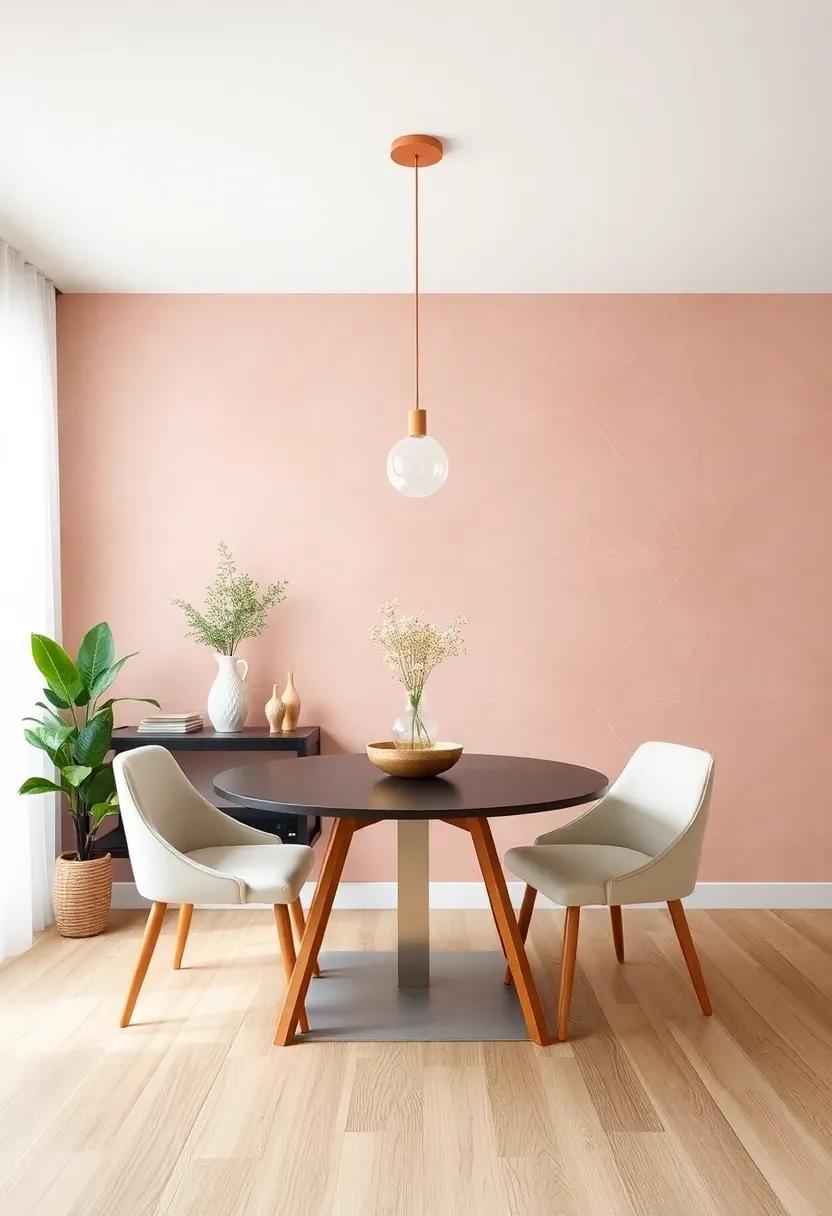
Transforming your dining room with a dramatic accent wall is easier than you think, especially with the power of removable wallpaper. Choose a bold pattern or a serene color that resonates with your personal style, allowing you to create a focal point that draws the eye. Installation is a breeze; simply measure your wall, cut the wallpaper to size, and peel and stick it into place. The best part? If you ever tire of the look, you can remove it without the hassle of traditional wallpaper request.Play with textures and designs to highlight your personality while maintaining the budget-friendly nature of DIY renovations.
When selecting removable wallpaper, consider materials that offer durability and washability, suitable for a dining area where spills might happen. Explore various motifs,from geometric patterns to florals,that can set the mood for your dining experiences. Color selection plays a crucial role; soft pastels can create a tranquil dining surroundings, whereas vibrant hues may energize the space. To truly personalize your wall, consider adding framed art or decorative elements that complement your new wallpaper. Your accent wall can potentially become the centerpiece of your dining room,mixing style with functionality flawlessly.
Craft a Rustic Farmhouse Table from pallets

Creating a stunning rustic farmhouse table from pallets can be a rewarding project that not only enhances your dining room aesthetic but also provides a functional centerpiece for gatherings. Start by sourcing sturdy wooden pallets; check local retailers or warehouses for discarded ones. When selecting your pallets, look for those that are in good condition—free from excessive splinters or damage. Onc you’ve gathered your materials,disassemble the pallets and sand down the wood to achieve a smooth finish. This will not only enhance the visual appeal but also ensure safety during use.
Next, it’s time to assemble your table! Use the larger pallet pieces to create the tabletop; ensure that they are evenly aligned for a clean look. Secure them together using wood glue and wood screws. For the legs, you can repurpose smaller pallet pieces or opt for pre-made wooden legs for a more polished finish. stain or paint the completed table to match your decor, allowing the wood’s grain to shine through. consider adding a varnish for extra durability, so your table can withstand the hustle and bustle of family dining for years to come. Below is a simple materials table to help you keep track of what you’ll need for this endeavor:
| Material | Purpose |
|---|---|
| Wooden Pallets | Tabletop and legs |
| Wood Glue | Jointing the pieces |
| Wood Screws | Securing the structure |
| Sander | Smoothing the wood |
| Stain/Paint | Finishing touch |
| Varnish | Protection |
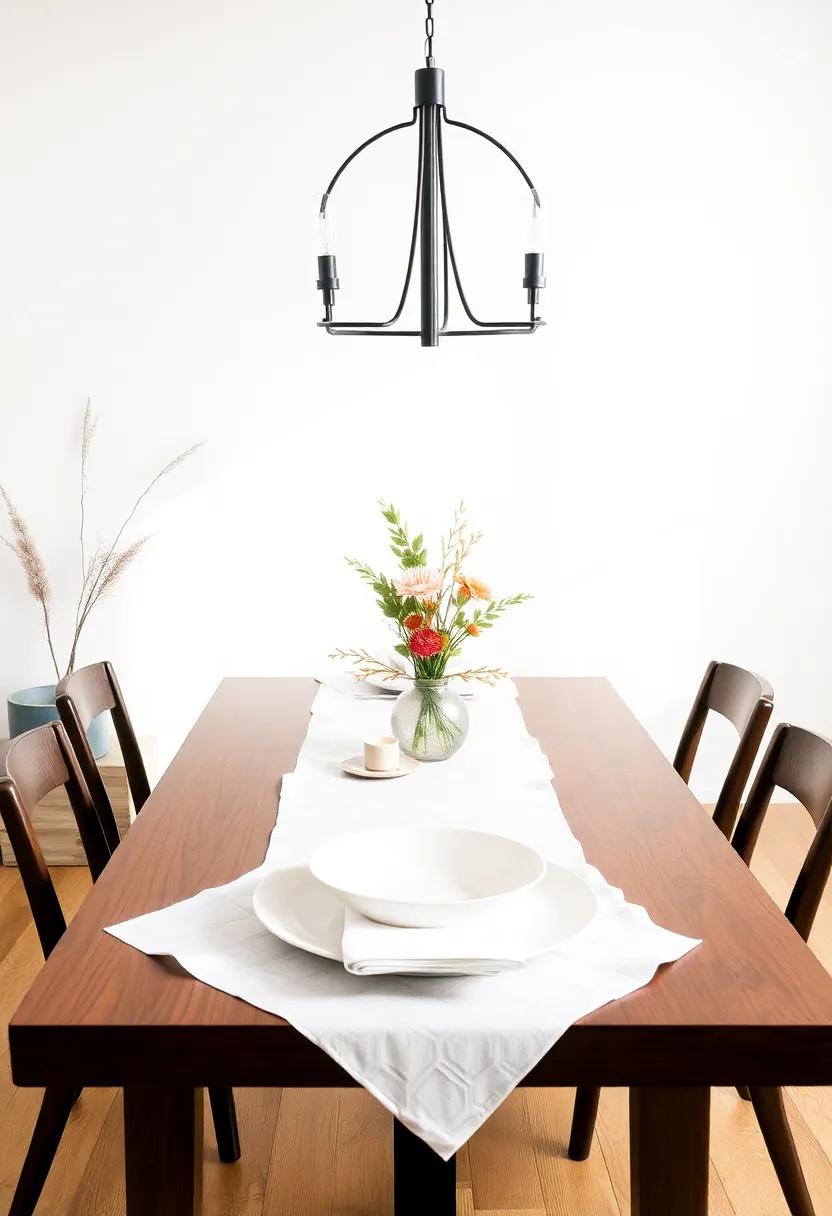
Transform Your Table with a DIY Table Runner

Elevate your dining space with a custom table runner that reflects your personality and style. A DIY table runner is not only functional but also adds a burst of color and texture to your table setting. Start by selecting your favorite fabric—options range from cozy cotton to elegant linen. Once you’ve chosen your material, consider these creative ideas:
- Printed Patterns: Use fabric paint or stencils to add unique designs.
- Layered Textures: Combine different fabrics like burlap and lace for a rustic-chic look.
- Seasonal Themes: Change your runner with the seasons—florals for spring, warm hues for fall.
- Patchwork Style: Sew together scraps from old projects for a charming, homespun effect.
To craft your runner, simply measure your table and cut your fabric accordingly. For a polished finish, hem the edges or add lace trim. If you’re feeling adventurous, consider personalizing your runner with embroidered initials or even a family motto. For those who prefer a quicker option, fabric glue can be a great substitute for sewing.Below is a simple table comparing various DIY table runner ideas:
| Type of Runner | Materials Needed | Time Required |
|---|---|---|
| Printed Fabric Runner | Fabric, Paint/Stencils | 2-3 hours |
| Burlap and Lace Runner | Burlap, Lace Trim | 1-2 hours |
| Embroidered Runner | Fabric, Thread | 4-6 hours |
| Patchwork Runner | Fabric Scraps, sewing Machine | 2-5 hours |
Upcycle Glass Jars into Chic table Centerpieces
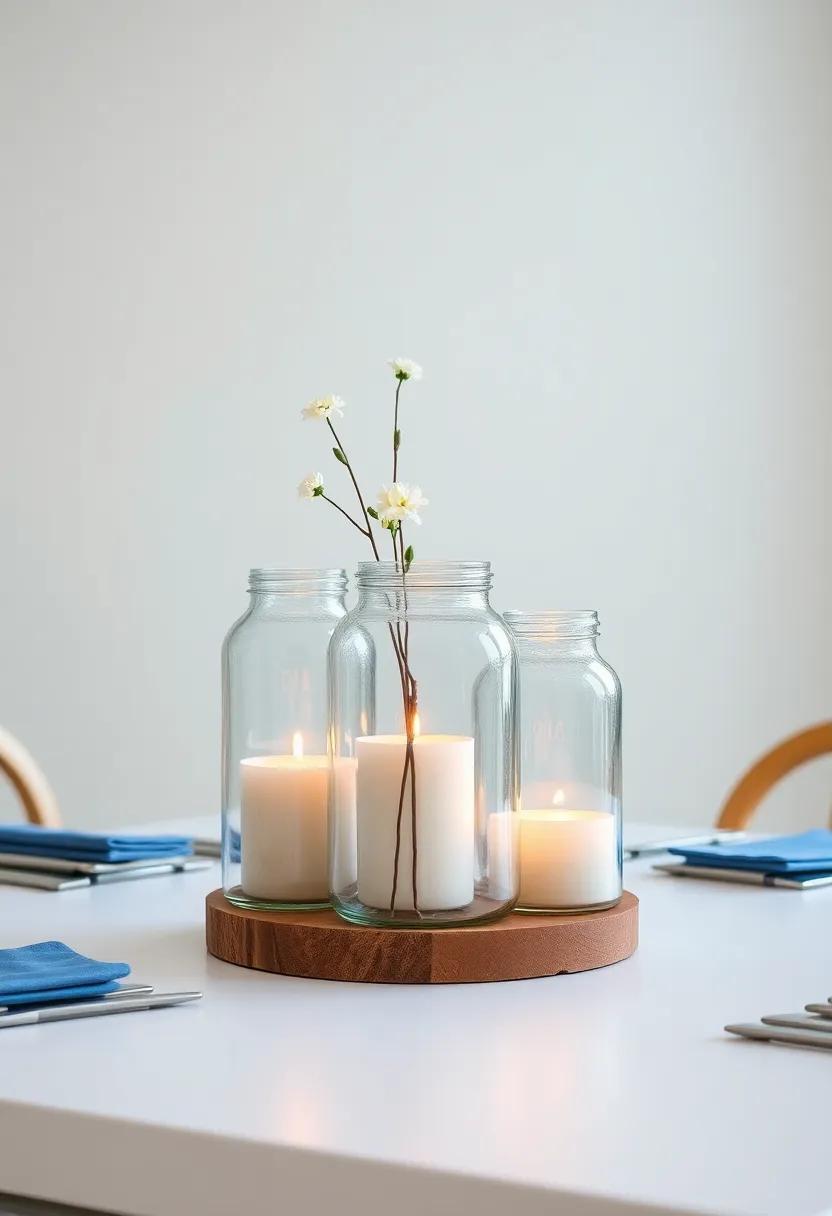
Transforming glass jars into elegant table centerpieces is an easy yet striking way to breathe new life into your dining area. With just a few materials and a dash of creativity, you can craft stunning displays that complement your unique style. Start by selecting a variety of glass jars—mason jars,vintage apothecary jars,or even empty candle holders—than clean and remove any labels. Consider the aesthetic you want to achieve, whether it’s rustic, modern, or bohemian. you can enhance the jars’ appearance by painting them, wrapping them with twine or lace, or using glass etching to create intricate designs. Fill each jar with seasonal flowers, greenery, or decorative pebbles for a gorgeous and personalized look.
to elevate the centerpiece idea, think about varying the height and arrangement of your jars. Combine short and tall jars for visual interest and choose a cohesive color palette to tie them together. For an extra touch, you can create table runners using fabric or natural elements like burlap or wood slices to anchor your jars.Consider using a few candles within the jars to add warmth and ambiance during dinner parties. This DIY project not only enhances your dining room but also gives you the satisfaction of producing something uniquely your own. Here’s a simple materials checklist for your centerpiece:
| Materials | purpose |
|---|---|
| Glass Jars | Base for centerpieces |
| Paint/Lace/Twine | Decoration |
| Flowers/Greens | Filling for jars |
| Candles | Ambient lighting |
| table Runner | Base for jars |
Install floating Shelves for Stylish Storage
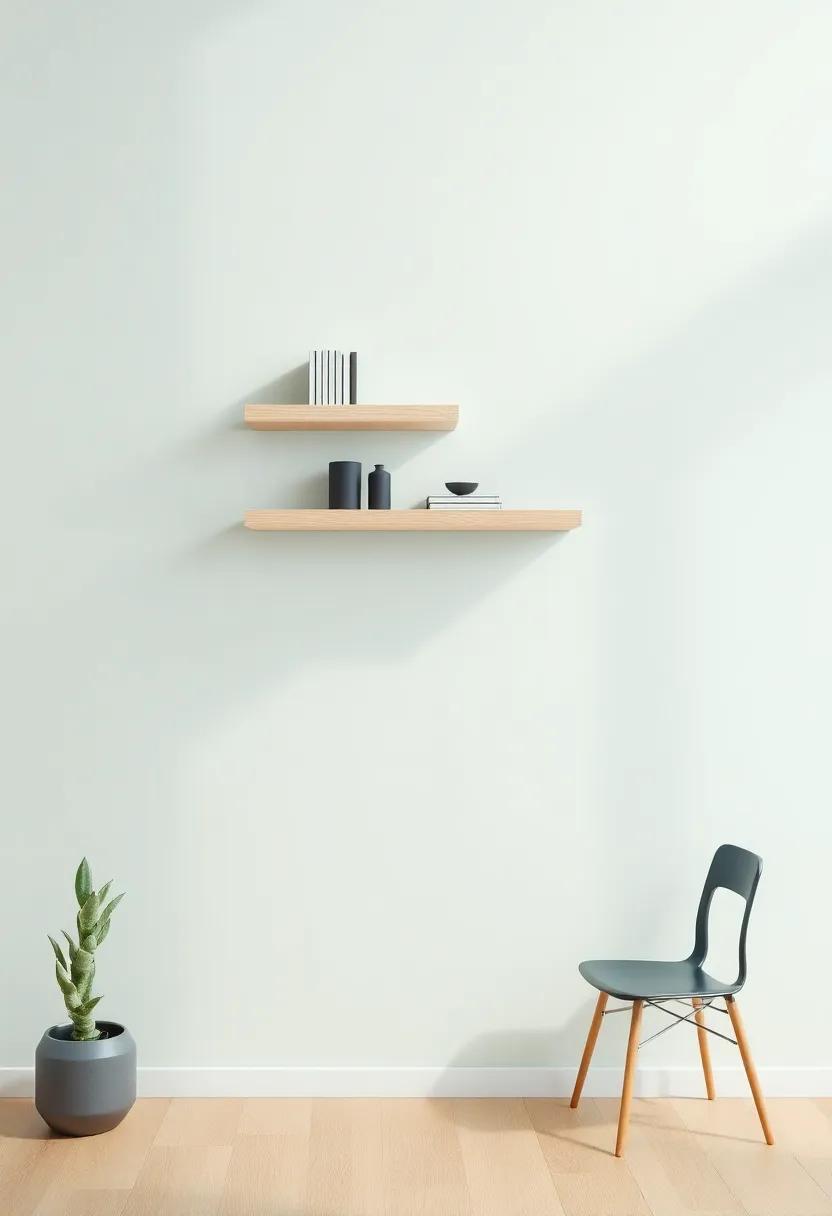
Floating shelves serve as an excellent solution for both functionality and aesthetics in your dining room. By installing these sleek shelves,you can create a stylish display that showcases your favorite dishes,decorative items,or plants,giving your space a personalized touch. Choose materials like wood, metal, or glass to match your existing decor. For a cohesive look, consider painting the shelves in a shade that complements your dining room walls, or go with a contrasting color to make a bold statement. don’t forget to vary the heights and arrangements for visual interest, transforming a simple wall into an eye-catching gallery.
To maintain a clean and modern appearance, opt for minimalistic shelf brackets or go fully bracketless for that floating effect.Consider using the shelves for functional storage by placing frequently used items like cookbooks or serving trays within easy reach. Alternatively, you can adorn the shelves with curated collections of vintage tableware or seasonal decorations, turning them into a dynamic focal point. Here’s a simple table to inspire your shelf arrangement:
| Item Type | Display Tips |
|---|---|
| Dishes | Layer them by size and color |
| Plants | Mix heights and textures |
| Art Pieces | Use standouts for emphasis |
| Candles | Group in varying heights |
Makeover Your Light Fixtures with Spray Paint

Transforming your dining room can be as simple as giving your light fixtures a fresh coat of spray paint. Choosing a bold color or a trendy metallic finish not only updates the look of your fixtures but also serves as a statement piece that can tie the entire room together. Here’s how you can get started:
- Select Your Color: Consider your overall color scheme. A matte black or deep navy can add an element of sophistication, while shining colors like yellow or turquoise inject energy and personality.
- Prepare the Fixtures: Remove any bulbs and give the fixtures a thorough cleaning to ensure the paint adheres properly.
- Use Primer: For surfaces that might be tricky, a layer of primer will help the spray paint stick better and can enhance the final color.
After painting, let your fixtures dry completely before reassembling and hanging them back up. The transformation can be stunning! Consider the finish of your paint as well; a high-gloss finish can add shine and elegance, while a matte finish can create a softer, more understated look. If you want to elevate your dining room further, here are some creative paint options to inspire your choice:
| Paint Finish | perfect For |
|---|---|
| Glossy | Adds a modern touch with reflective qualities |
| Matte | Provides a warmer, cozier feel |
| metallic | Creates a glamorous focal point |
| Textured | Offers depth and interest |
Design Custom Place Cards for a personal Touch

Elevate your dining experience by designing custom place cards that reflect your personal style and theme of the occasion. Think beyond the standard paper cards—consider materials like wood,acrylic,or fabric to add texture and interest to your table setting. Start by gathering supplies such as cardstock, markers, and decorative elements like ribbons or small embellishments. Create a template or sketch out your designs to ensure each card fits perfectly within your vision. Personalize each place card with guests’ names, and feel free to add a fun fact or a favorite quote as a conversation starter.
To make the process even easier, you can utilize simple HTML and CSS for a refined look, especially if you want to incorporate digital elements. Here’s a straightforward table that showcases various themes for your place cards:
| Theme | Material | Design Idea |
|---|---|---|
| Garden Party | Seed paper | Shapes of flowers with printed names |
| rustic | Wood slices | Handwritten names with twine |
| Elegant | Acrylic | Laser-etched names with gold leaf accents |
| Beach | Sandy cardstock | Shell-themed cutouts with names |
Whether you choose a vibrant color palette or a minimalist approach, customized place cards are a thoughtful way to reserve seating for your guests and enhance the overall ambiance of your dining room. Remember, the creativity you pour into creating these small details will reflect your personality and set the tone for a memorable gathering.
Build a Bench from Repurposed Wood for Extra Seating

Transforming old wood into a sturdy and stylish bench can add both functionality and charm to your dining room. Start by sourcing repurposed wood from old furniture, pallets, or even barn wood. Ensure that each piece is clean and sturdy before you start the assembly. An L-shaped bench can fit snugly against a wall or table, perfect for entertaining guests. Not only will this project help you save money, but it also encourages creativity, allowing you to customize the size and finish to match your dining decor.
Once you’ve gathered your materials, the assembly process is straightforward.Use wood screws and a sturdy wood adhesive to ensure durability, and sand down rough edges to avoid splinters. When it comes to finishing touches,consider using a clear sealant to enhance the natural beauty of the wood or painting it in a bold color to create a striking statement piece. To inspire your design, here are a few ideas to consider:
- Rustic farmhouse style – Leave the wood in its natural state for an authentic look.
- Modern chic – Paint the bench in matte black for a sleek finish.
- Colorful pop – Use exterior paint to create a bright statement piece that draws attention.
Create a Gallery Wall with Framed Family Photos
Transform a blank wall into a cherished display by curating a gallery wall filled with framed family photos. Start by collecting a variety of frames in different sizes and finishes to add visual interest.You can mix and match wooden, metallic, and colorful frames to create a unique aesthetic that reflects your family’s personality.Before you commit to any arrangement, lay the frames on the floor and play around with their placement until you find a layout that feels right. This arrangement not only adds depth to your decor but also allows you to share your family’s story through images.
Once you’ve settled on the perfect arrangement, mark the intended placements on the wall with small, removable stickers. Secure your photos in their frames and hang them, starting from the center and working your way outwards. To keep everything cohesive, consider using a consistent color palette or theme in your photos—this could be black and white, vintage tones, or even snapshots from specific events like vacations or holidays. Remember,a gallery wall is not merely a decorative element; it invites conversation and warmth into your dining space,making every meal an possibility to reminisce and connect.
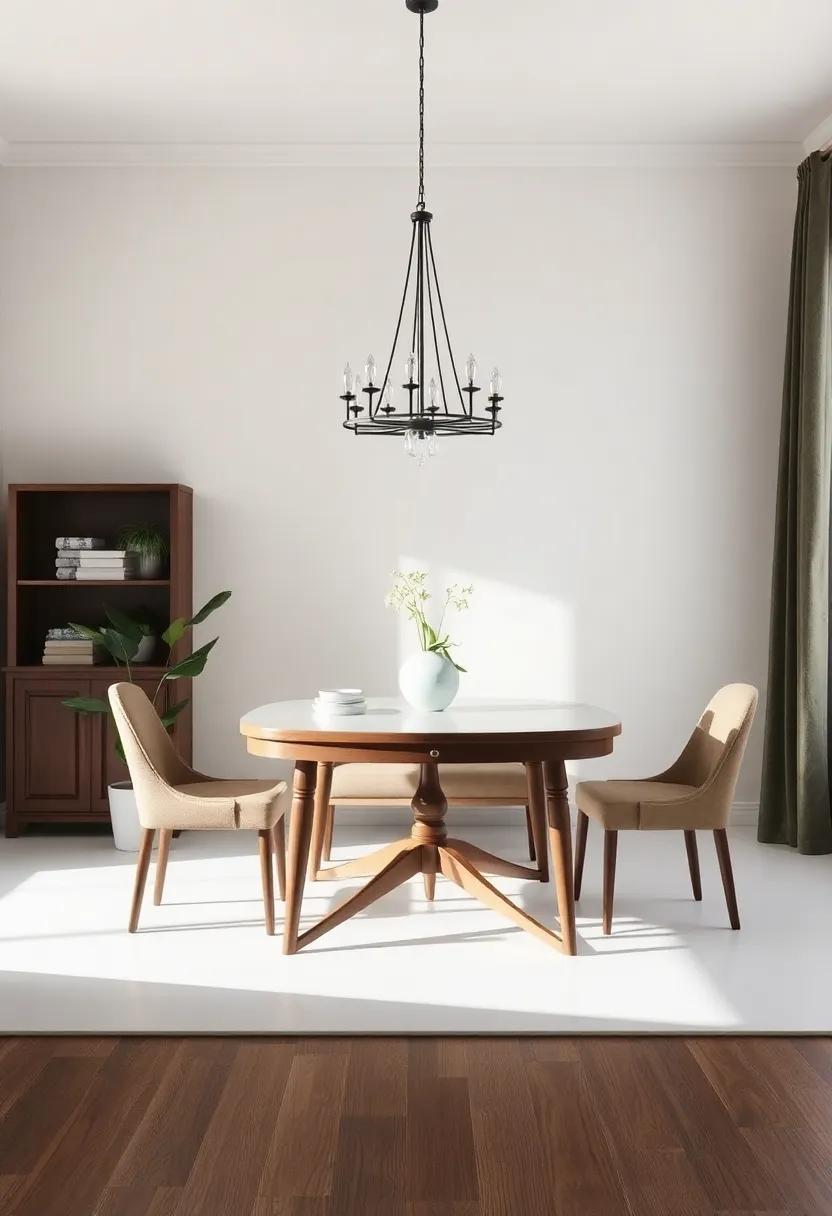
Paint or Stain Your Dining Table for a Fresh Look
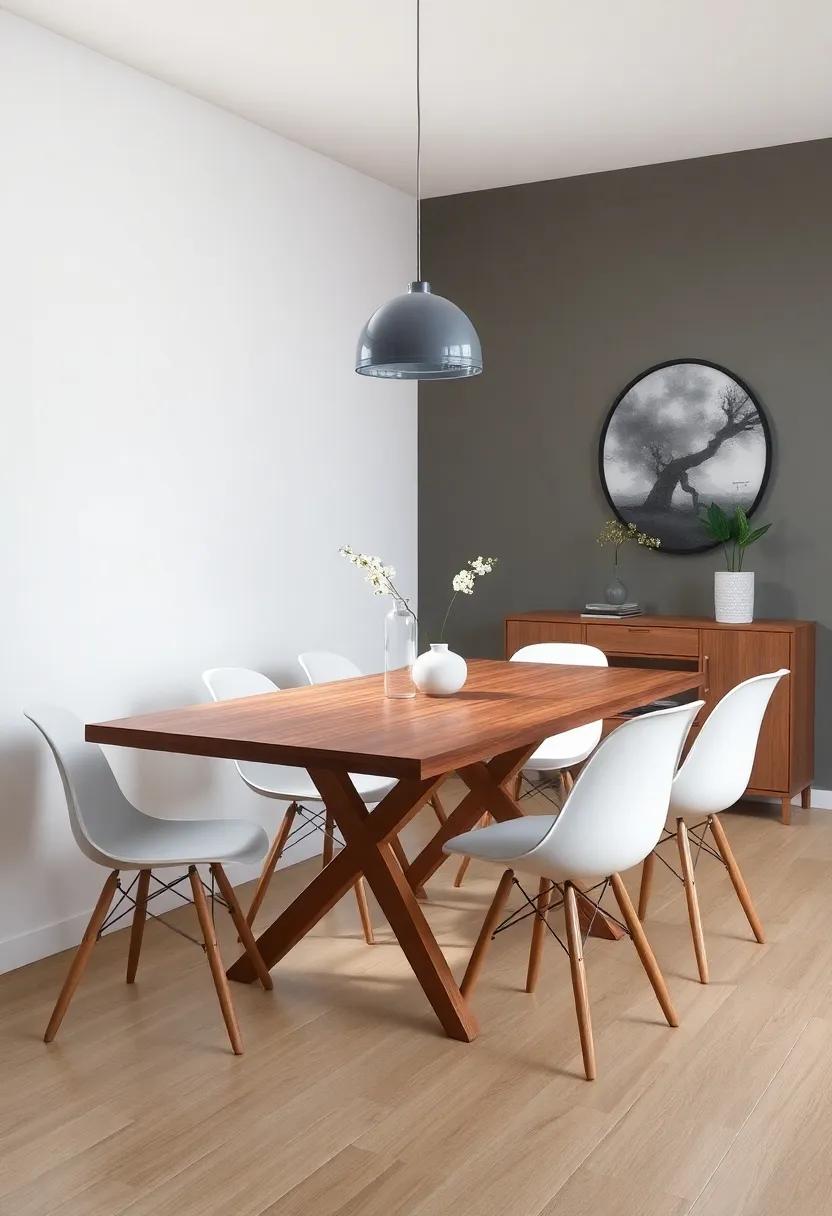
If your dining table is looking a bit tired or outdated, consider giving it a vibrant facelift that reflects your personal style.Painting is a fantastic way to breathe new life into the wood, allowing you to choose glossy finishes in bold colors or soft pastels that suit your décor. Conversely, staining enhances the natural beauty of the wood grain and allows you to achieve a rustic aesthetic with various shades ranging from light to dark. Before you start, make sure to gather your supplies: sandpaper, primer (if painting), high-quality paint or stain, and a sealer to protect your hard work. With a little creativity, you can transform your dining table into a stunning centerpiece that you’ll love showing off.
When selecting your color palette or stain, consider pairing contrasting hues with your existing dining room elements to create a balanced look.for those feeling adventurous, using a technique like a two-tone finish or even whitewashing can add depth and character to your table. Don’t forget to explore these options:
- Chalk paint for a matte, vintage effect
- Metallic spray paint for a touch of glam
- Dark walnut stain to highlight natural wood
- Bold colors to make a statement
To help you decide on a finish, consider using the following table to compare the pros and cons of each option:
| Option | Pros | Cons |
|---|---|---|
| Paint | Wide color range, easy application | Can chip, may require more upkeep |
| Stain | Enhances wood grain, durable | Limited color options, longer drying time |
Add a Touch of Nature with DIY Plant holders
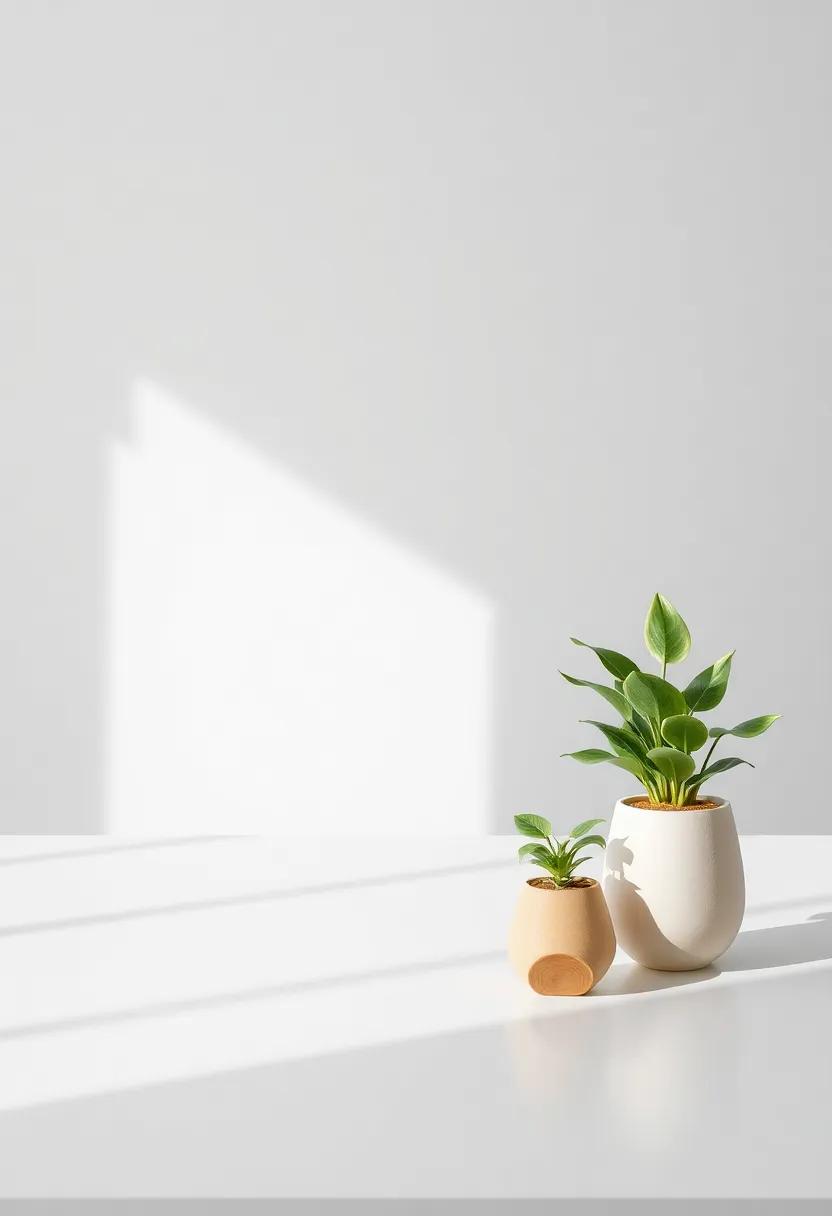
Bringing greenery into your dining room can dramatically change its atmosphere, and creating your own plant holders is an enjoyable way to personalize your space. You can use materials such as reclaimed wood,metal pipes,or even old jars to design unique holders that reflect your style. Here are some DIY ideas to inspire your creativity:
- Hanging Macramé Planters: With just a bit of rope and macramé skills, you can create beautiful hanging planters that effortlessly add a bohemian touch.
- jar Terrariums: Repurpose glass jars into stunning terrariums, layering soil, stones, and small plants for a mini-ecosystem.
- Wooden Crate Stands: Stack wooden crates and fill them with plants for a rustic, farmhouse aesthetic.
- Suspended shelves: Install floating shelves and place small pots on them for an airy, open feel while maximizing wall space.
To help you easily choose the right plant for your DIY holders, consider the amount of light and space available in your dining room. Here’s a quick reference table for suitable plants based on sunlight requirements:
| Plant Name | Sunlight Needs |
|---|---|
| Pothos | Low to Bright Indirect Light |
| Spider Plant | Indirect Light |
| Succulents | Bright Direct Light |
| Snake Plant | Low Light to Bright Indirect Light |
Stitch a Cozy Tablecloth for a Homely Feel
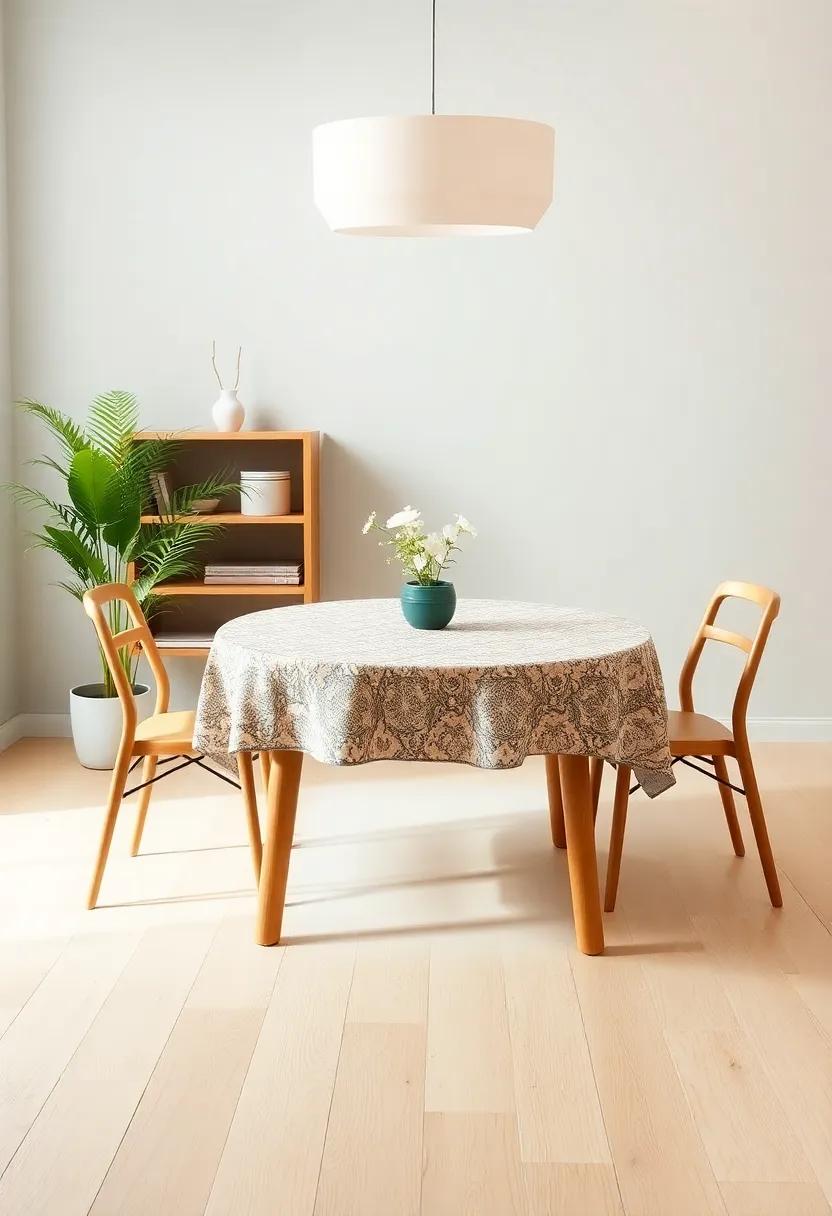
Create a warm, inviting atmosphere in your dining room with a simple, stitched tablecloth that reflects your personal style. Start by selecting a soft fabric, such as cotton or linen, in a color or pattern that complements your existing decor. You can even repurpose an old vintage sheet or fabric remnants for a lasting touch. Measure your dining table’s dimensions and cut the fabric accordingly, allowing extra for hems. Use sewing pins to secure the edges and prevent fraying, then choose a stitch style—from a classic hem to a playful zigzag—based on your sewing skills and preferred aesthetic.
Enhance the cozy vibe by adding decorative elements to your tablecloth. Consider incorporating embroidered motifs, like leaves or flowers, for a touch of handmade charm. If you’re feeling adventurous, experiment with patchwork designs that incorporate various fabric swatches for a bohemian flair. You can also personalize your tablecloth with fabric paint or markers to write inspiring quotes or family names,making every meal a special occasion. To maintain the lovely look, gently wash your tablecloth in cold water and hang it to dry, ensuring its beauty lasts through many memorable gatherings.
Craft a Chalkboard Menu to Inspire Dinner Ideas

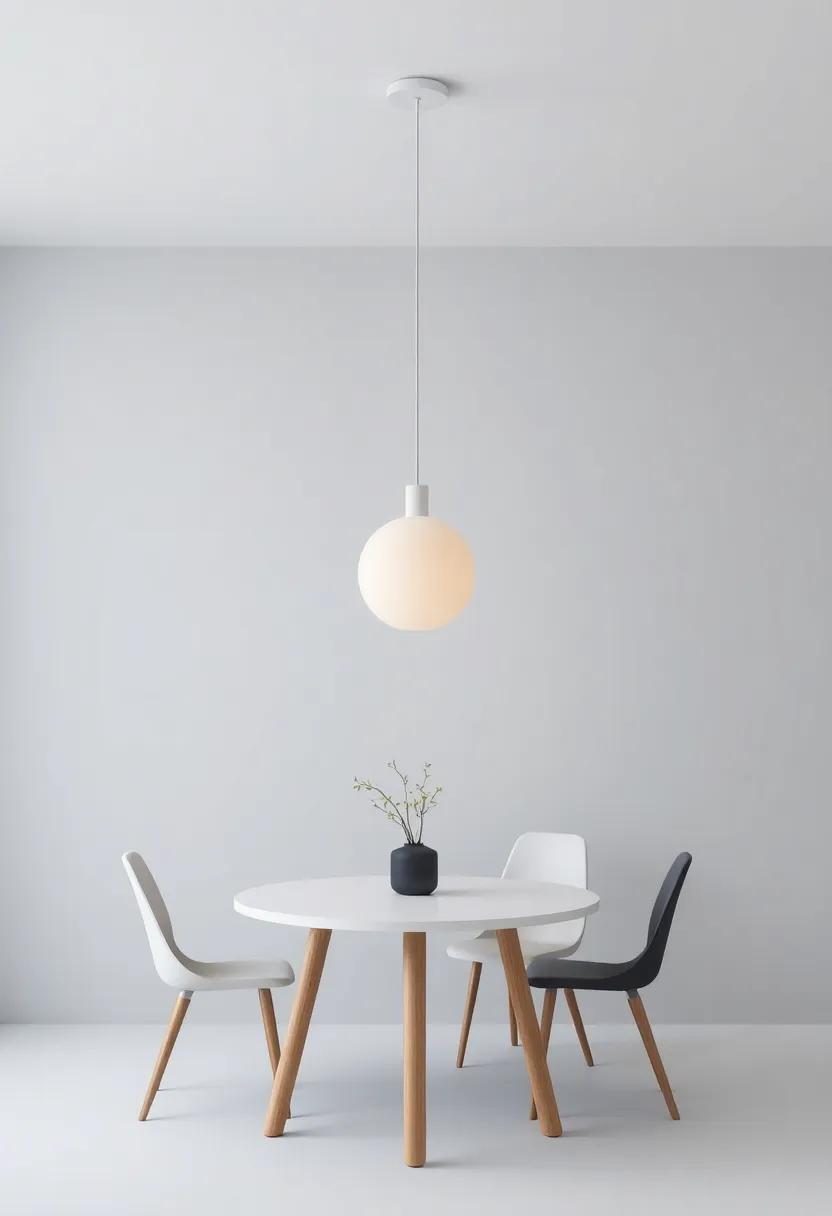
Design a Statement Chandelier with DIY Elements

Create a stunning focal point in your dining room by crafting a captivating chandelier using a blend of DIY elements. To begin, consider gathering materials that resonate with your personal style—think vintage lampshades, reclaimed wood, or even colorful glass bottles. By assembling these components, you can design a chandelier that not only illuminates your space but also tells a story. Utilize strong, decorative cord or chain to hang your masterpiece, ensuring it is indeed at the right height for dining ease while casting a magical glow over your meals.
To add depth and texture, think outside the box by incorporating various upcycled items. Design a unique drum-style chandelier using an old bicycle wheel adorned with fairy lights or create an elegant one with hanging terrarium globes filled with dried flowers or succulents. Paint your chosen elements in a cohesive color palette to unify the design, and consider adding a dimmer switch to control the ambiance.Don’t shy away from layering materials; combining metals with organic elements can yield remarkable visual interest. Transform your dining room into a stylish nook that sparks conversation,all while staying within budget!
Use Vintage Plates as Wall Art for Unique Decor
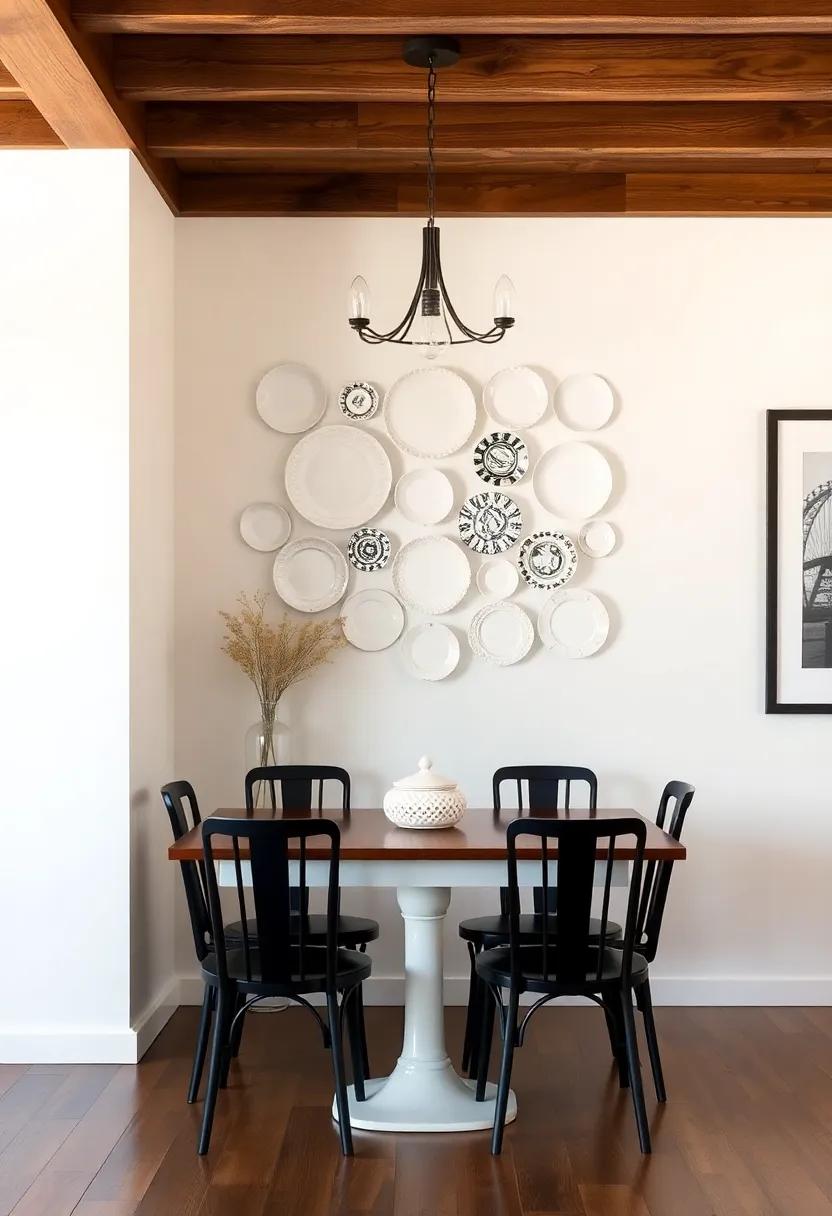
Transforming your dining room with vintage plates can add a touch of charm and personality without breaking the bank. Instead of letting those beautiful but mismatched plates collect dust in the cupboard, consider showcasing them as wall art. Create a stunning visual display by arranging them in an eclectic pattern. Here are some ways to curate your plate art:
- Theme Your Display: Choose plates that reflect a specific color palette or theme, such as floral designs, geometric shapes, or monochromatic colors.
- Variety in sizes: mix different plate sizes to create visual interest and depth on your wall.
- creative Arrangements: Experiment with different arrangements—try a symmetrical grid, a free-form bunch, or even a whimsical spiral.
- Use Plate Hangers: Invest in plate hangers or adhesive plate hooks for easy mounting that won’t damage your walls.
To take your vintage plate display a step further, consider incorporating additional elements that complement the theme. Think about adding:
| Complementary Items | Description |
|---|---|
| Framed artwork | Intersperse your plates with framed artwork that echoes the plate colors for a cohesive look. |
| Wreaths | Integrate floral or seasonal wreaths to soften the display and give it a fresh feel. |
| Mirrors | Use mirrors in between plates to create depth and reflect light, enhancing the overall ambiance. |
By curating a collection that reflects your personal style and interests,you’ll not only create a unique focal point in your dining room but also spark conversations and memories each time you entertain. Vintage plates are not just for serving food; they can tell a story and bring warmth to your space.
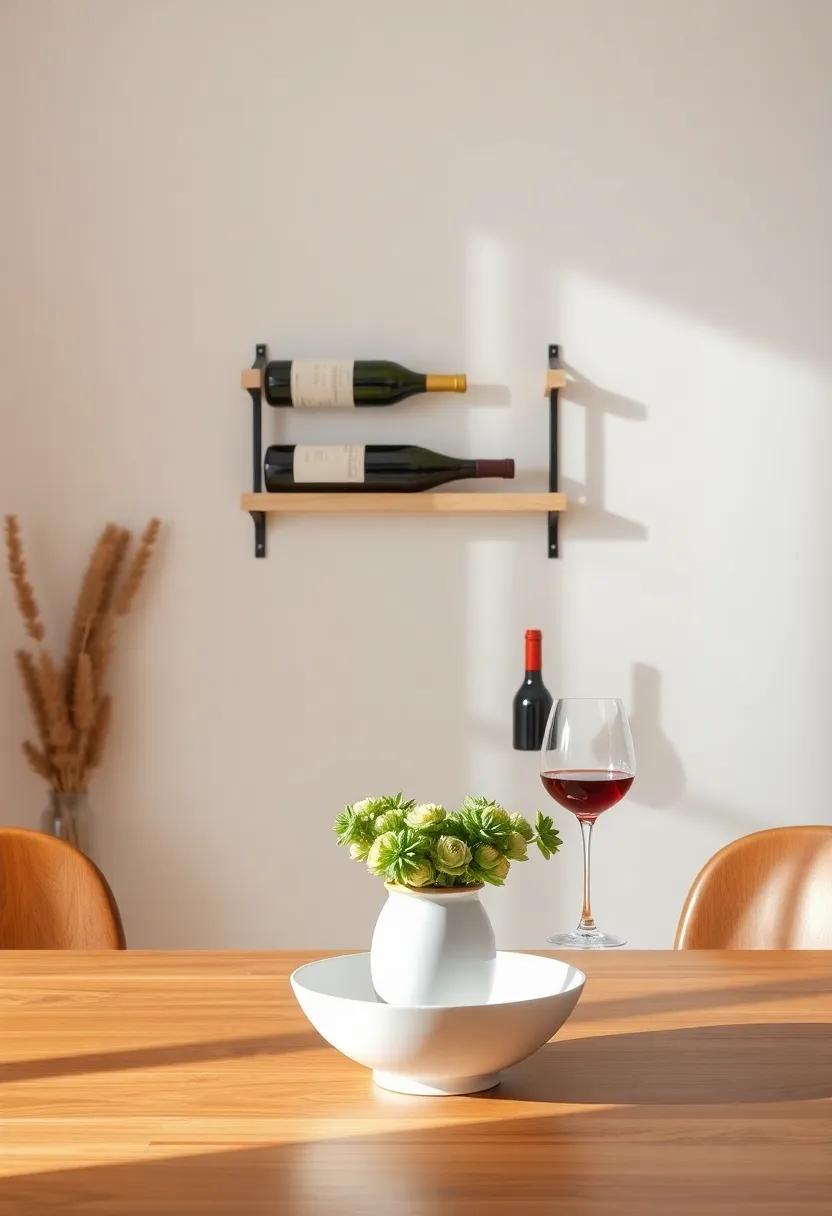
Create a DIY Wine rack for Your Beverage collection
Transform your empty wall space into a stunning showcase for your wine collection with a DIY wine rack that reflects your personal style. Start by gathering materials such as reclaimed wood, sturdy hardware, and basic tools to create a rustic or modern design that suits your dining room. You can opt for a simple vertical rack that holds bottles horizontally or a tiered design that features both bottles and glasses. The possibilities are endless!
Consider the following ideas to make your wine rack truly unique:
- Floating Shelves: Install floating shelves for an airy and contemporary look, perfect for small spaces.
- Pallet Wine Rack: Use an old wooden pallet for a farmhouse style, adding hooks for wine glasses.
- Wine Crate Display: Stack wine crates vertically or horizontally to give a vintage feel while providing storage.
- Under-stairs Racking: Maximize space by creating a wine rack under your staircase.
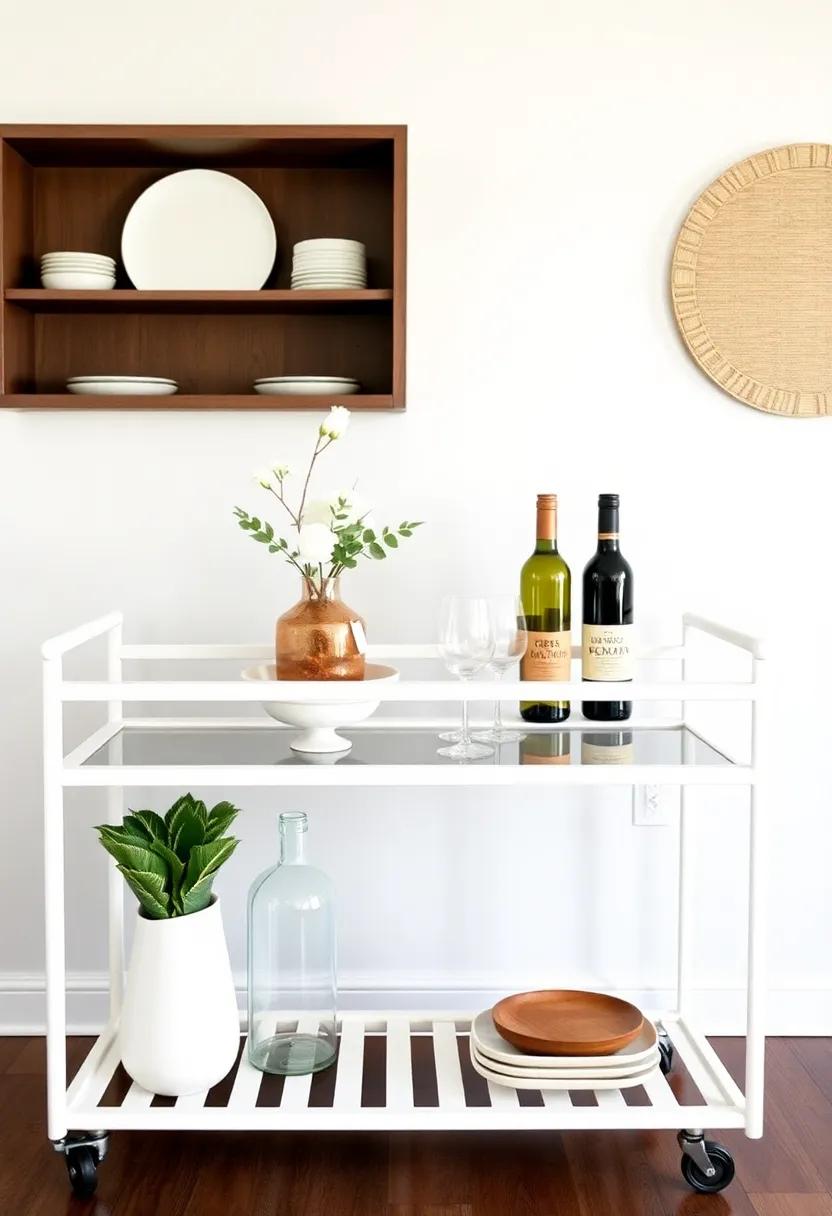
Build a Simple DIY Bar Cart for Entertaining
Enhance Your Space with DIY Fabric Banners or Garlands

Infuse your dining room with personality by creating DIY fabric banners or garlands that reflect your style. Using remnants of your favorite fabrics or even repurposed textiles, you can craft eye-catching decorations that will delight both family and guests. Start by selecting a theme—whether it’s rustic, modern, or whimsical—then cut fabric into shapes like triangles, circles, or even letters to form your message. Sew, glue, or use fabric tape to secure your pieces and string them across your dining area or along a feature wall.
To further personalize your fabric decorations, consider adding embellishments such as buttons, lace, or appliqués. You can create a festive atmosphere with seasonal banners for holidays or social gatherings, or opt for more understated designs for everyday use. Here are some ideas to inspire your creativity:
- Colorful Pennants: Use contrasting fabrics to create a playful pennant garland.
- Monogrammed Banners: Spell out your family name or a warm greeting to welcome guests.
- Seasonal Themes: refresh your banners to reflect the changing seasons, from autumn leaves to spring florals.
Install a Simple Ceiling Medallion for Elegance

Transforming your dining room can be as simple as adding a ceiling medallion, a classic design element that imbues elegance and sophistication. These decorative accents can draw the eye upward, creating a visual focal point that enhances your space without straining your budget. Choosing the right medallion is key; consider scale and style in relation to your light fixture and overall room decor.When selecting your medallion, look for materials that suit your aesthetic—polyurethane is lightweight, durable, and often comes pre-primed for easy painting.
once you’ve chosen your medallion, installation is straightforward. Begin by gathering your materials, including adhesive, a measuring tape, and a utility knife, if you need to make any adjustments. Follow these steps for a seamless application:
- measure and Mark: Find the center of your ceiling and mark it for precise placement.
- Test Fit: Hold the medallion up to check for fit before permanently adhering it.
- Apply Adhesive: Use construction adhesive to the back of the medallion, and press it against the ceiling.
- Finishing Touch: Caulk any gaps and paint to match or contrast your ceiling, enhancing the overall look.
For a visual guide, refer to the simplified installation overview below:
| Step | Action |
|---|---|
| 1 | Measure and mark center |
| 2 | Test fit medallion |
| 3 | Apply adhesive |
| 4 | Seal and paint |
Refurbish Old Furniture with decoupage Techniques
Transforming your dining room furniture into eye-catching pieces can be both fun and cost-effective, especially when utilizing the art of decoupage. Decoupage involves gluing decorative paper or fabric onto furniture surfaces, followed by a protective finish. Start by selecting your old furniture that needs a refresh—think tired chairs, a solid wood table, or even a sideboard.Gather an eclectic mix of bold or vintage-inspired paper designs that resonate with your personal style. This is where your creativity can run wild! By layering different textures and colors, you can create a piece that truly reflects the unique character of your dining space.
Once you are ready to start, lay out your materials, which typically include mod podge, scissors, a brush, and a clear sealant. Follow these simple steps:
- Clean the surface thoroughly.
- Cut the paper to size, allowing for some overlap.
- Apply a coat of mod podge to the furniture and position the paper.
- Use the brush to smooth out air bubbles.
- Seal it with additional coats of mod podge after drying.
The final touch could involve adding some vintage knobs or handles that complement your decoupaged decor.With this project, not only do you breathe new life into old pieces, but you also create a personalized dining experience that your family and friends will admire.
Add Softness with DIY Cushion Covers for Chairs
Give your dining chairs a fresh makeover by creating your own cushion covers. This DIY project not only adds comfort but also allows you to infuse your personal style into your space. Start by choosing vibrant fabrics or soft textures that complement your dining room’s color scheme. Fabrics like cotton, linen, or even faux fur can create a warm atmosphere. Additionally, consider using remnants or upcycled materials to keep costs low while being environmentally friendly.
To create the cushion covers, simply measure your chair seats and cut the fabric accordingly. You can opt for a pillowcase style for easy removability,or go for a more tailored approach with a zipper closure for a polished finish. Don’t forget to incorporate fun embellishments like embroidery or piping to make each cover unique and reflective of your personality. with just a bit of creativity and some basic sewing skills, you’ll transform your dining chairs into cozy spots your guests will love!
Create A Snazzy Sideboard from an old Dresser

Transforming an old dresser into a chic sideboard can breathe new life into your dining area while also being a budget-friendly project. Start by removing the top drawers and modifying the space to accommodate your dining essentials like plates, napkins, or even extra flatware. you can enhance its charm by adding a fresh coat of paint or stain that complements the color palette of your room. Consider using bold hues for a contemporary look or muted tones for a vintage vibe.Decorative hardware can also make a meaningful difference—opt for elegant knobs or pull handles that reflect your personal style.
To take your sideboard to the next level, think about incorporating shelves or wine racks. if you’re feeling adventurous, you can also add decorative elements such as mirrors or reclaimed wood accents to the dresser’s side or back for added texture. Here’s a quick rundown of essential materials needed for this project:
| Materials | Purpose |
|---|---|
| Sandpaper | Preparation for paint/stain |
| Paint/Stain | New color finish |
| Knobs/Handles | Updating hardware |
| Wood for Shelves | Additional storage |
once your sideboard is complete, accessorize it with decorative items like vases, candles, or framed photos to make it uniquely yours. Not only will your DIY sideboard serve as a functional piece, but it will also be a striking decorative element that adds personality and flair to your dining space.
Make Seasonal Table Settings with Craft Paper
transform your dining table into a seasonal masterpiece using craft paper! This affordable and versatile material allows you to get creative while adding personality to your dining room. Start by selecting color palettes that reflect the season—warm hues for autumn, icy blues for winter, fresh greens for spring, and vibrant shades for summer. Here’s how to craft stunning table settings:
- Table Runner: Cut a long piece of craft paper to create a simple table runner. You can either keep it plain or explore patterns with stamps or markers.
- Place Settings: Cut out different shapes for each guest. Heart-shaped for Valentine’s Day, leaves for Thanksgiving, and snowflakes for winter feasts.
- Menu Cards: Write a personalized menu for your gathering on folded craft paper cards. This adds a thoughtful touch and can be a keepsake for guests.
- Centerpiece Wrap: Use craft paper to wrap around vases or pots in your table centerpiece for an organized look.
To elevate your craft paper settings, consider layering textures. Pair your craft paper with natural elements like pinecones or fresh greenery for a rustic touch. If you’re feeling adventurous, try using a different technique by creating a painted design on the paper before laying it out. Not only will this ensure no two gatherings look alike, but it also lets you involve the whole family in preparing for the occasion. Here’s a simple inspiration table for ideas:
| season | Craft Paper Style | Decor Suggestions |
|---|---|---|
| Spring | Pastel Colors | Fresh Flowers, Mini Vases |
| Summer | Bold Patterns | Fruits, Bright Accessories |
| Autumn | Earth Tones | Pumpkins, Leaves |
| Winter | Cool Blues | Snowflakes, Candles |
Paint an Inspirational quote on a Canvas for Your Wall

Bring a touch of positivity and creativity to your dining room by painting an inspirational quote on a canvas. This simple DIY project allows you to not only personalize your space but also share uplifting words with your family and guests. Choose a quote that resonates with you, whether it’s a famous saying or a personal mantra. Set the mood by selecting colors that complement your dining room decor. For example:
- Bright yellows for a cheerful vibe
- Calming blues for a serene atmosphere
- Warm earth tones for a cozy feel
Once you have your quote and colors, gather your supplies: a blank canvas, paintbrushes, and a steady hand. Consider using stencils for a clean and professional finish. If you’re feeling adventurous, mix in some abstract designs or doodles around the text to enhance the visual appeal. You might also want to display a small table nearby featuring:
| Quote | Author |
|---|---|
| The best is yet to come. | Franklin Pierce Adams |
| Dream big. Aim high. | Unknown |
| be the change you wish to see. | Mahatma Gandhi |
Display your masterpiece prominently in your dining room, and let it serve as a daily reminder to embrace positivity and inspiration. Not only will this project uplift your space, but it will also spark conversations during meals, fostering a warm and inviting atmosphere.
Use Fabric to create Unique Light Fixtures
Transform the ambiance of your dining room with eye-catching light fixtures made from fabric. Utilizing a variety of fabrics can yield stunning results that not only brighten your space but also serve as artistic focal points. Here are some ideas to get you started:
- Lampshade revamp: Take old lampshades and recover them with vibrant fabrics or textured linen for a fresh look.
- Fabric Pendant Lights: Create oversized pendant lights by draping sheer fabric over a wire frame—perfect for a bohemian touch.
- DIY Fabric Lanterns: use jars and lightweight fabric to make hanging lanterns that emit soft, diffused light for cozy dinner parties.
- Clustered Fabric Balls: Sew or glue fabric around balloons, inflate them, and hang them together for a playful, artistic display.
Want to ensure your new fabric fixtures are not just attractive but also practical? Consider the following tips:
| Tip | Description |
|---|---|
| Choose Light Fabrics | Light materials allow better light diffusion, creating a warm atmosphere. |
| Fire Safety | Ensure fabrics are treated or naturally resistant to fire if close to lightbulbs. |
| Complement Your Décor | Select colors and patterns that echo your dining room’s palette for a cohesive look. |
DIY an Eye-Catching Table Centerpiece for Each Season

Transform your dining experience with stunning seasonal centerpieces that reflect the beauty of nature and the joy of festivities. For spring, consider creating a vibrant arrangement using fresh flowers, fragrant herbs, and colorful fruits. Gather a stylish vase and fill it with tulips, daffodils, or cherry blossoms, accentuated by sprigs of mint or rosemary. add citrus slices or decorative stones at the bottom for that extra flair.
In summer, draw inspiration from beach themes with a centerpiece that incorporates seashells, driftwood, and sand. A shallow glass bowl filled with sand can serve as the base, while a few seashells and a piece of driftwood elegantly jut out from the sandy depths. As autumn arrives, swap those beachy elements for pumpkins, acorns, and fall leaves. Arrange small white and orange pumpkins on a wooden tray, surrounding them with scattered acorns and rich-hued leaves for a cozy, inviting look. for winter, create a snowy wonderland with a hurricane lantern, white candles, and faux snow — reminiscent of a serene winter night.
Install Pegboards for Functional and Fun Wall Decor
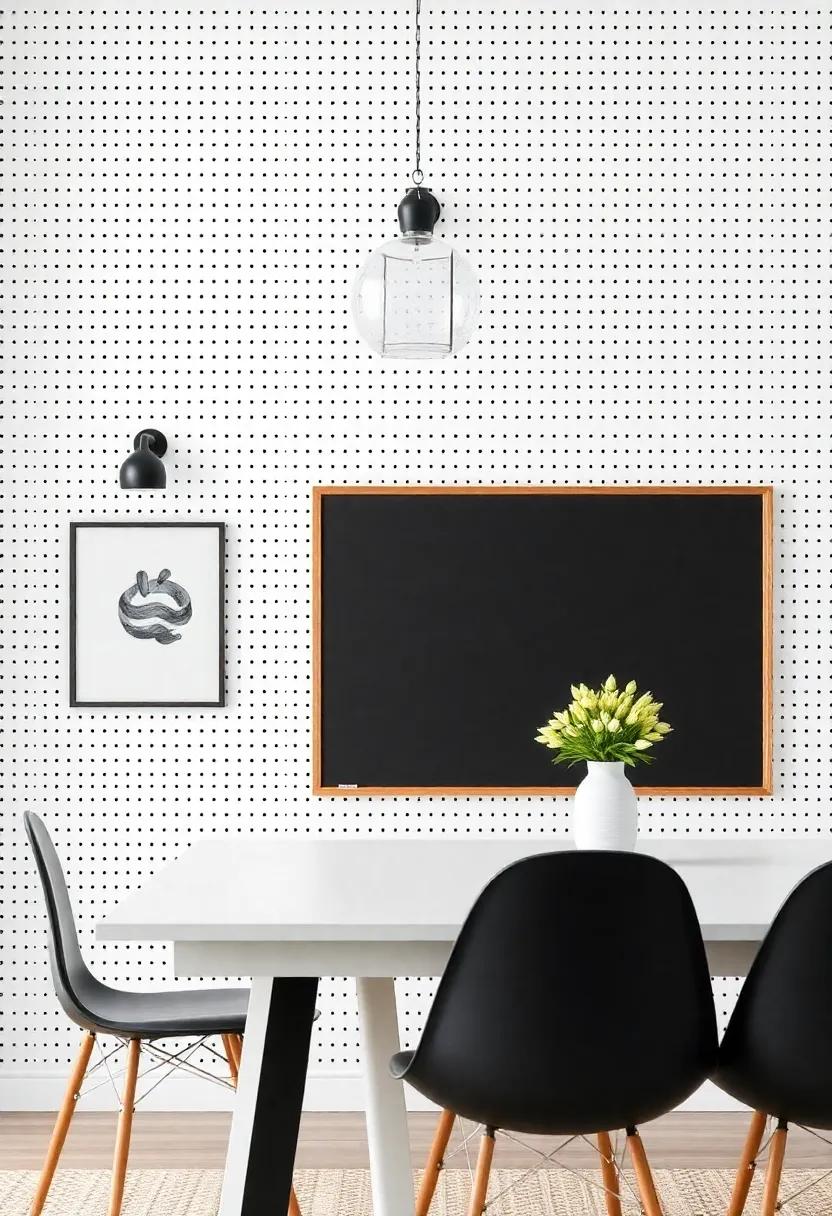
Transform an empty wall into a stunning focal point while adding institution to your dining room with pegboards. These versatile boards allow you to showcase your creativity by arranging plants, utensils, or even art pieces in an eye-catching way. Start by selecting a color that complements your dining room’s palette; a bright pop of color can invigorate the space, while neutral tones can provide a more calming effect. Once installed, consider these ideas to unleash your inventiveness:
- Plant Displays: Hang small pots or netted planters for a vertical garden.
- Kitchen Accessories: Use hooks and shelves to display cooking tools or cutting boards for easy access.
- Artistic Touches: Frame your favorite artwork or photos directly on the pegboard to create a gallery wall.
- Seasonal Decor: Swap out items easily to reflect the changing seasons or upcoming holidays.
To make even more of an impact, consider personalizing your pegboard with unique details. you can paint it with chalkboard paint for a writable surface or use colorful washi tape to create patterns. For added depth, try layering materials such as wood, metal, or fabric against the pegboard. This not only enhances visual interest but also offers textural contrast,making the decor pop.As you experiment, you may discover that pegboards can serve not just as a storage solution but as a true reflection of your style.
Create a Multi-functional Dining Nook with Built-in Seating

Imagine transforming a corner of your dining area into a cozy nook that’s not just inviting but also incredibly functional. By opting for built-in seating, you can maximize your space while adding a unique feature to your home. Start by measuring your available area and design a bench that fits seamlessly against your wall, utilizing materials like plywood or reclaimed wood. You can include storage compartments beneath the seating to minimize clutter and keep dining essentials handy. Accent the nook with colorful cushions and throw pillows for comfort and style,helping to create a warm atmosphere perfect for casual meals or family gatherings.
To enhance the multi-functionality of your dining nook, consider integrating a small dining table that complements your built-in seating. Use a drop-leaf table or a compact round table to save space while providing enough room for dining.You can even customize the tabletop by using a mosaic pattern or a bold paint color that fits your decor. Add sconce lighting or a pendant light overhead to create an inviting ambiance. Don’t forget to incorporate personal touches, such as framed art or greenery, to make the space uniquely yours. A well-designed nook can serve as your favorite reading spot,a play area for kids,or a charming space for intimate meals,making it a versatile addition to your home.
In Retrospect
As we wrap up our journey through these 29 inspiring DIY dining room projects, we hope you’ve found the spark of creativity you need to transform your space on a budget. It’s amazing how a little ingenuity can breathe new life into a room that often serves as the heart of your home. whether you choose to rejuvenate an old table, create a stunning gallery wall, or upcycle vintage chairs, each DIY project is a step towards making your dining area a reflection of your personal style.
Remember, the key to a successful transformation lies not just in the final product, but in the joy of creating something uniquely yours. So gather your tools, unleash your creativity, and get started on turning your dining room into a space that inspires gatherings, celebrations, and memorable moments. Happy DIY-ing!