thefashiontamer.com Fashion Inspirations

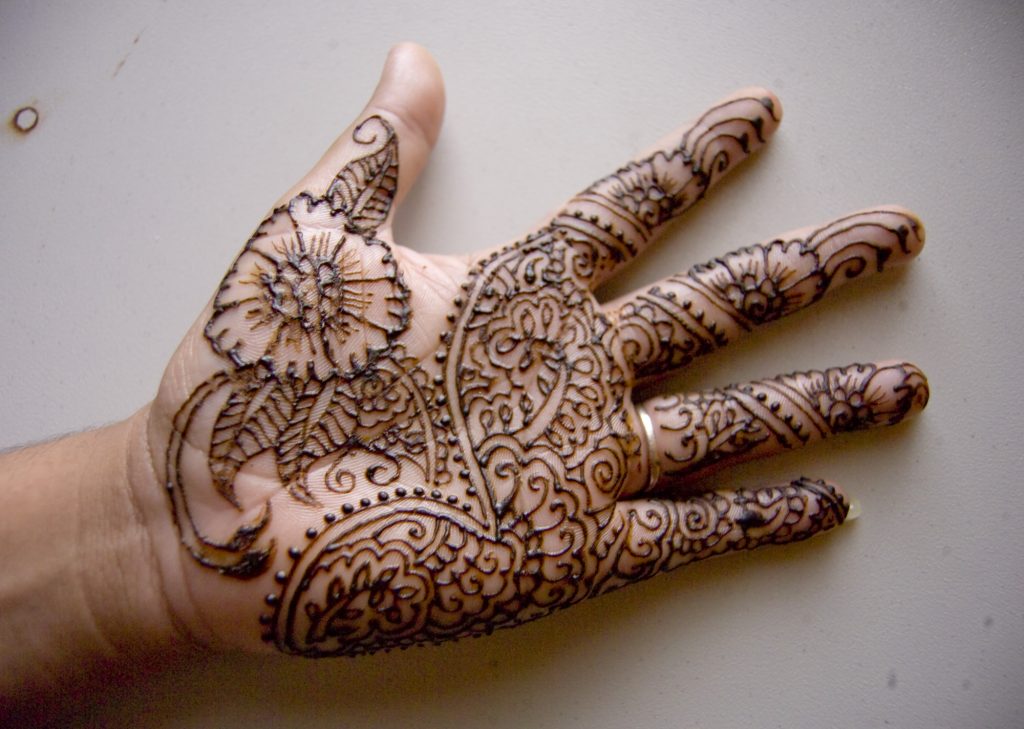
Henna hand designs have been a popular form of body art for centuries, originating in ancient India and spreading to various parts of the world. The intricate and beautiful designs are created using a paste made from the henna plant, which stains the skin with a reddish-brown color. If you’ve ever wanted to try your hand at creating henna hand designs, follow this step-by-step guide to creating your own stunning artwork.

Step 1: Gather Your Supplies Before you begin, gather all the necessary supplies for creating henna hand designs. You will need henna paste, which can be purchased from craft stores or online, as well as a small squeeze bottle or cone to apply the paste. Additionally, have some cotton balls, lemon juice, sugar, and tissue paper on hand to help seal and enhance the color of the design.
Step 2: Prepare Your Skin Before applying the henna paste, make sure to clean and dry your hands thoroughly. You can also lightly exfoliate your skin to ensure a smooth surface for the design to adhere to. Avoid applying lotions or oils to your skin, as this can interfere with the henna staining process.
Step 3: Create Your Design Now comes the fun part – creating your henna design! You can draw inspiration from traditional henna patterns or create your own unique design. Start by sketching the outline of your design lightly on your hand with a pencil to serve as a guide for your henna application.
Step 4: Apply the Henna Paste Fill your squeeze bottle or cone with henna paste and begin tracing over the outline of your design. Start from the center of your design and work your way outwards to ensure a balanced and symmetrical pattern. Take your time and apply the paste carefully to avoid any smudges or mistakes.
Step 5: Let the Design Dry Once you have finished applying the henna paste, allow the design to dry completely before touching anything. This can take anywhere from one to three hours, depending on the thickness of the paste and the temperature and humidity of your surroundings. You can speed up the drying process by holding a hairdryer on a low, cool setting over your design.
Step 6: Seal and Enhance the Color To help seal and enhance the color of your henna design, mix together equal parts lemon juice and sugar in a small bowl. Using a cotton ball, gently dab the mixture over your dried henna design. Let it dry for a few minutes before wrapping tissue paper around your hand and securing it with a bandage or tape. Leave the tissue paper on overnight to allow the color to deepen and set.
Step 7: Care for Your Design To prolong the life of your henna design, avoid washing your hands with soap or water for at least 24 hours after application. You can also apply a light layer of coconut oil or shea butter to your design to help moisturize and protect it.
Creating intricate henna hand designs can be a fun and rewarding experience. By following this step-by-step guide, you can create your own stunning henna artwork to show off and enjoy. So grab your supplies and get started on creating your beautiful henna masterpiece today!