thefashiontamer.com Fashion Inspirations

Prom season is right around the corner, and that means it’s time to start thinking about your outfit, makeup, and most importantly, your hairstyle. Rather than spending a fortune at a salon, why not try your hand at DIY prom hairstyles? Not only will you save money, but you’ll also have the satisfaction of creating a beautiful look all on your own. To help you out, here is a step-by-step guide to achieving the perfect prom hairstyle.

1. Start with clean, dry hair: Before you begin styling your hair, make sure it’s clean and dry. Washing your hair the night before will give it some texture and hold, making it easier to work with.
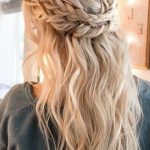
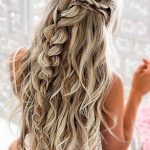
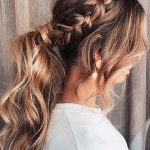
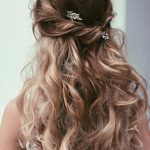
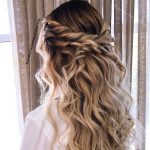
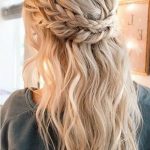
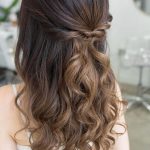
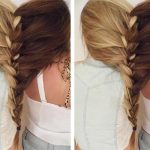
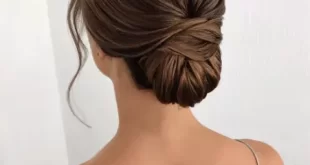
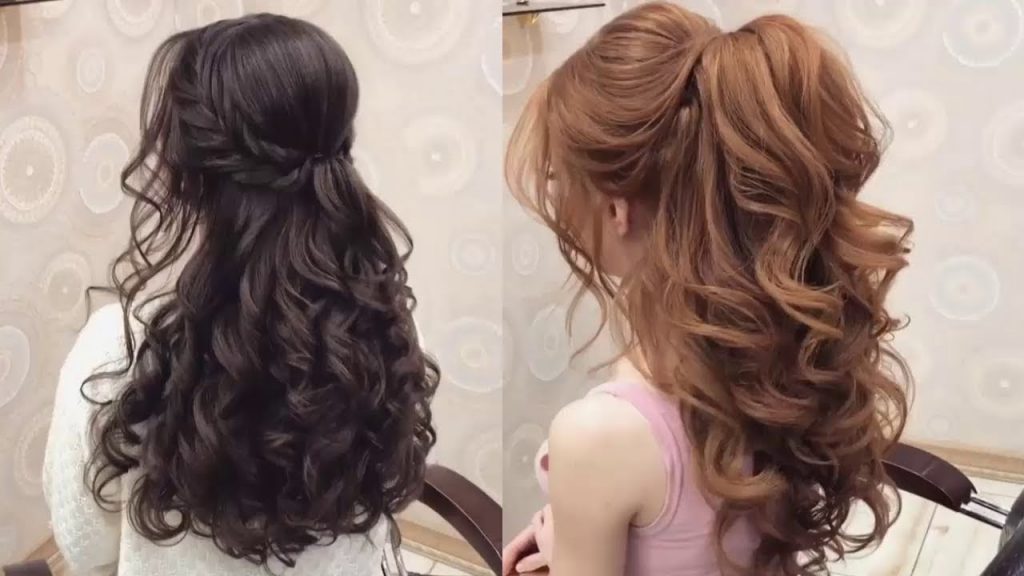
2. Choose your hairstyle: There are endless options when it comes to prom hairstyles – from elegant updos to glamorous waves. Do some research and pick a style that complements your outfit and personal style.
3. Gather your tools: Depending on the hairstyle you choose, you may need different tools such as a curling iron, straightener, hair pins, elastics, and hairspray. Make sure you have everything you need before you start.
4. Prep your hair: Use a heat protectant spray before using any heated styling tools. This will help protect your hair from damage and keep it looking healthy.
5. Curl or straighten your hair: Depending on your chosen hairstyle, you may need to curl or straighten your hair. Take small sections and work your way around your head, being sure to curl away from your face for a more natural look.
6. Create your desired style: Once your hair is curled or straightened, begin creating your desired hairstyle. For an updo, start by teasing the crown of your hair for volume, then gather it into a bun or twist and secure with hair pins. For loose waves, use your fingers to tousle and separate the curls for a more relaxed look.
7. Finish with hairspray: To ensure your hairstyle stays in place all night, finish with a generous amount of hairspray. This will help hold everything in place and prevent frizz.
8. Add accessories: To add a little extra glam to your prom hairstyle, consider adding some accessories like a hair comb, headband, or sparkly clips. These can take your look to the next level and make it truly unique.
9. Practice, practice, practice: If you’re trying out a new hairstyle for prom, make sure to practice it a few times beforehand. This will help you perfect your technique and make sure you’re confident with the final result.
10. Have fun: Most importantly, have fun with your DIY prom hairstyle! Experiment with different styles and techniques until you find the perfect look that makes you feel confident and beautiful on your special night.
With this step-by-step guide, you’ll be well on your way to achieving a stunning DIY prom hairstyle that will turn heads and make you feel like a queen. So grab your tools and get styling – and have a wonderful time at prom!