 theFASHIONtamer Where Style Meets Space, Effortlessly
 Every autumn, I find myself getting swept up in the excitement of pumpkin season, yet there’s always that nagging worry about the mess and hassle of carving. I remember last year, I had high hopes for our family pumpkin project, only to end up with a kitchen covered in pumpkin guts and a couple of sad, lopsided creations. Honestly, the idea of carving just never quite sparked joy for me, especially when my kids seem to have more fun with paint than with sharp knives.
If you’re anything like me, you might be on the lookout for some fresh, creative ways to enjoy pumpkin decorating without the whole carving ordeal. The great news is that painting pumpkins is both fun and wonderfully mess-free! Plus, it opens the door to so many imaginative ideas that can bring out your little ones’ artistic sides. So, if you’re ready to dive into some charming no-carve painted pumpkin ideas, I’m thrilled to share 19 clever suggestions that will spark joy and creativity in your home this Halloween season!
1. Paint Fun Emoji Faces on Pumpkins for a Colorful Twist

Bringing a touch of fun to your Halloween decor is as easy as painting emoji pumpkins! Start by picking up some medium-sized pumpkins from your local farmers’ market. Next, gather bright, non-toxic acrylic paints in your kids’ favorite colors. Set up a little painting station with brushes, bowls for mixing colors, and a smock to protect clothes.
Now, let your little artists choose their favorite emojis—think smiley faces, hearts, or silly expressions! Lightly sketch the emoji faces on the pumpkins with a pencil before diving into the paint. Once the designs are ready, let the kiddos get creative. Finish off with a clear sealant to protect the artwork, and voilà! You have personalized emoji pumpkins that not only brighten your Halloween decor but also become a memorable family project. Plus, they’ll make fantastic outdoor decorations!
2. Create a Space-Themed Pumpkin with Spray Paints

Creating a galaxy pumpkin is a fun way to embrace the Halloween spirit while incorporating a bit of creativity! Start by painting a pumpkin in dark purples and blues to mimic the night sky. Once it’s dry, invite your kids to sprinkle on white paint or use a toothbrush to flick tiny dots for stars, representing constellations. For an extra magical touch, consider adding some glitter or glow-in-the-dark paint! This not only makes a fantastic outdoor decoration, but it also sparks curiosity about space when kids admire their cosmic creation from the backyard. Happy crafting!
3. Create Chalkboard Pumpkins for Creative Drawing Fun

One of the cutest and most fun fall decor ideas is to create craft chalkboard pumpkins! Simply grab some pumpkins (real or faux) and paint them with chalkboard paint. This not only gives them a trendy matte look, but also transforms them into a canvas for your kiddos and their endless doodles!
Once painted, let your little artists go wild with colorful chalk—think of all the seasonal designs they can dream up, from spooky ghosts to cheerful autumn leaves. If you’re feeling adventurous, host a mini pumpkin decorating contest with friends! Just remember to set up a designated ‘chalk station’ with different colors of chalk for quick access. These versatile pumpkins can spark creativity all season long while adding a playful touch to your home. Happy crafting!
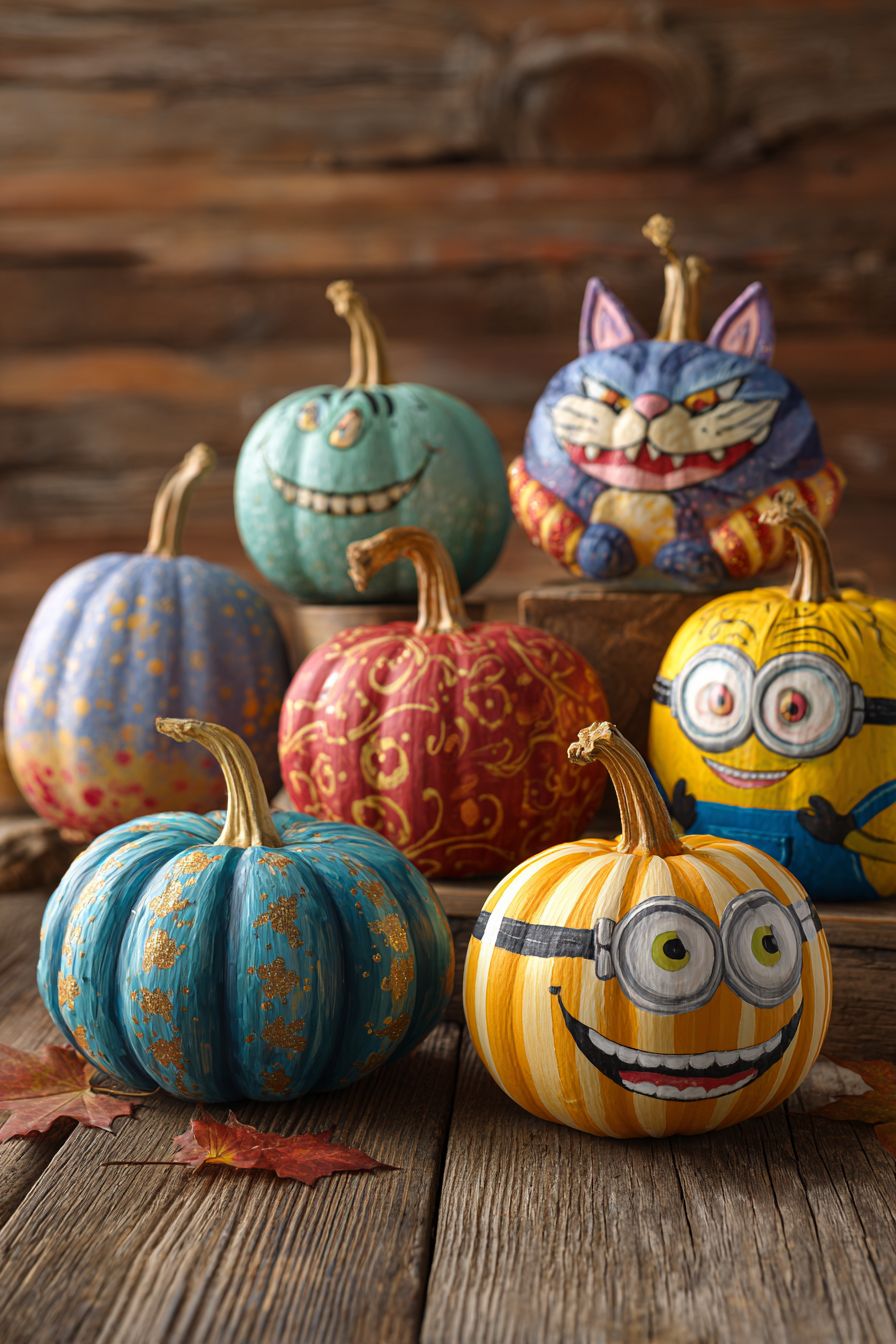
4. Create Adorable Minion Pumpkins Using Yellow Paint

Creating Minion pumpkins is a delightful way to spookify your Halloween decor while bringing your kids’ favorite characters to life! Start with medium-sized pumpkins—you can snag these from any local farm or craft store. Choose bright yellow outdoor paint for a vibrant finish and gather some Minion accessories, like googly eyes, blue felt (for overalls), and black pipe cleaners for the hair.
Here’s how to get started: first, clean the pumpkins and let them dry completely. Next, apply a solid coat of yellow paint; two coats might be ideal to eliminate any streaky patches. Once dried, use the blue felt to cut out overalls and stick them onto the pumpkins with glue. Finally, attach the googly eyes and pipe cleaners to complete your Minion look!
These adorable Minion pumpkins can be the centerpiece of your Halloween display or a fun activity for the kids. Enjoy watching their creativity shine, and don’t forget to take lots of pictures for the memory books!
5. Colorful Drip-Painted Pumpkins for Creative Fun

Transform your pumpkins into colorful masterpieces with an artsy paint drip technique that’s perfect for kids and adults alike! Simply choose vibrant acrylic paints—think brilliant oranges, blues, and purples—and let your little ones pour them over the top of the pumpkins. As the paint cascades down, it creates a stunning drip effect that’s totally unique each time.
To get started, ensure you cover your workspace with newspaper or a plastic drop cloth. Start by stacking your pumpkins on top of cups or small bowls to elevate them and catch excess paint. Encourage your kids to explore different color combinations and layering. And don’t worry about making it perfect; the beauty lies in the messiness! Once dried, these paint-drip pumpkins make fantastic outdoor decorations. Just remember, a quick spray of clear sealant can help preserve your colorful creations. Happy crafting!
6. Embellish Monster Pumpkins with Adorable Googly Eyes

Decorating monster pumpkins with googly eyes is a fantastic way to get the kids involved in Halloween festivities! Start by picking out a good bunch of pumpkins—try finding various sizes to add character. Grab some acrylic paint in vibrant colors like green, purple, and orange. Once the pumpkins are clean and dry, let your little artists paint on fun monster faces. Think silly smiles or spooky expressions!
Now comes the best part: sticking on googly eyes! You can find these at any craft store. Let your kids arrange the eyes however they want; some might want two big eyes, while others might go for a more chaotic look with mismatched sizes. Finish off with accessories like paper fangs or yarn for hair to bring their creations to life. This imaginative project not only adds a playful twist to your fall decor but also keeps the kiddos happily engaged!
7. Create Adorable Animal Pumpkins with Ears Using Paint

Transforming ordinary pumpkins into adorable animal creations is such a delightful way to bring some playful charm to your home decor and get the kids involved! Start by picking out a few pumpkins in different sizes—this will add character to your display.
Next, grab some non-toxic paint in vibrant colors along with foam shapes for the ears—these can be found at any craft store or online. Let the kids select their favorite animal: whether it’s bunnies with floppy ears, cats with pointy ones, or even bears!
Once the pumpkins are painted and dry, simply glue on the foam ears and add extra details like googly eyes or whiskers using a marker or additional foam cutouts. It’s a fun, hands-on project that engages creativity and fine motor skills. Plus, these cute animal pumpkins make for the perfect conversation starters when you have guests over. Happy crafting!
8. Design Pastel-Colored Rainbow Pumpkins

Transform your pumpkins into a cheerful display by using pastel paints! Start with a medium-sized pumpkin and divide it into sections using painter’s tape. Choose a palette of soft colors—you might love a mint green, blush pink, lavender, and buttery yellow. Let each family member pick a color for their segment to make it even more special.
Once you’ve taped off the segments, grab some acrylic paint (like these vibrant options from FolkArt) and a couple of foam brushes. Simply paint each section, allowing the first coat to dry before applying a second for that rich, colorful pop. This quick DIY is perfect for a cozy fall afternoon with the kids, creating memories while decorating your home. Once done, display your rainbow pumpkins on your porch or dining table to add that whimsical touch to your autumn décor!
9. Create Pumpkins Inspired by Beloved Storybook Characters
What a fun way to celebrate fall! Start by picking a few favorite storybook characters your kids love—think Winnie the Pooh, the Gruffalo, or Alice in Wonderland. Set up a crafting station with pumpkins, non-toxic paints, and simple props like felt, googly eyes, or fabric scraps.
To make it super easy, help your little ones sketch the character’s face on the pumpkin first. Then, let them unleash their creativity, painting and decorating as they go. For an added storytelling twist, encourage them to act out a scene with their pumpkin during Halloween—imagination truly blossoms through crafting! Happy decorating!
10. Host a Fun Pumpkin Painting Celebration with Friends
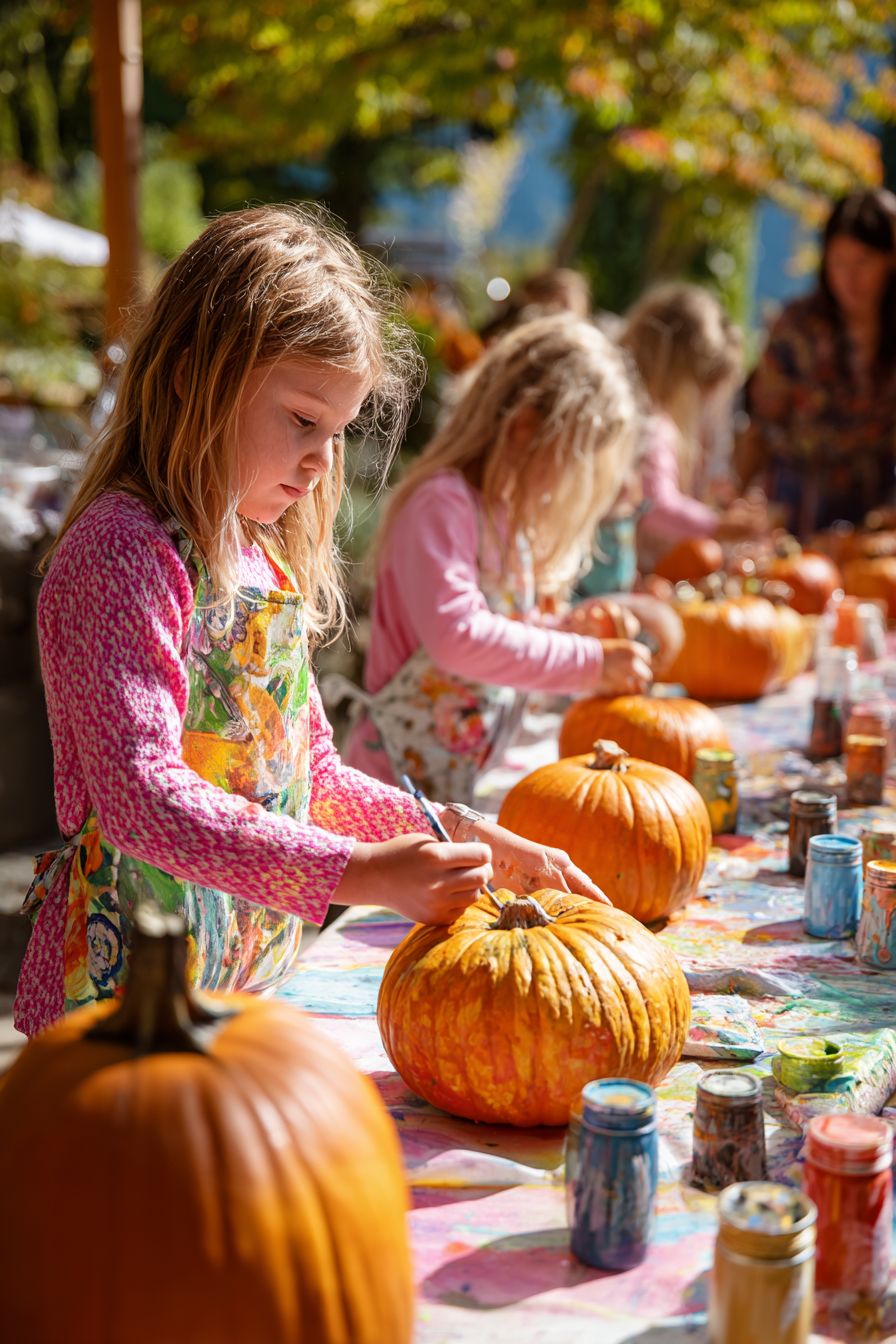
What a fun idea! To organize a pumpkin painting party, start by inviting your friends and their kiddos to a cozy, well-lit space—your living room or backyard works great! Set up a long table covered with newspaper or a disposable tablecloth to catch the paint splashes.
Next, grab some medium-sized pumpkins; these are perfect for little hands to decorate. You can buy them at a local pumpkin patch or grocery store. Provide a variety of washable paints and brushes, or even consider adding in extra fun like stickers and stencils for those who aren’t as confident in their painting skills.
Here’s a pro tip: include aprons or old t-shirts to protect clothes from paint splatter, and prepare some snacks and drinks to keep the creativity flowing. You’ll end up with unique pumpkin masterpieces and loads of giggles—a perfect autumn memory!
11. Create Luminescent Pumpkins for a Spooky Nighttime Effect

Give your Halloween decor a fun twist by crafting glow-in-the-dark pumpkins! Start with some fresh or artificial pumpkins (real ones will work great too). Choose your favorite glow-in-the-dark paint—brands like Rust-Oleum or FolkArt offer fantastic options.
First, clean and dry the pumpkins to ensure the paint adheres well. Next, paint them in your chosen glow-in-the-dark hue and allow them to dry completely. For added flair, consider stenciling or freehand designs that will pop in the dark, like ghosts or spiders.
Once dried and glowing, display your spooky creations on your porch or window ledges. It’s a delightful surprise for trick-or-treaters and adds an enchanting touch to your Halloween festivities. Plus, you can reuse these pumpkins year after year!
12. Create Comic Book-Inspired Pumpkins Featuring Exciting Sayings
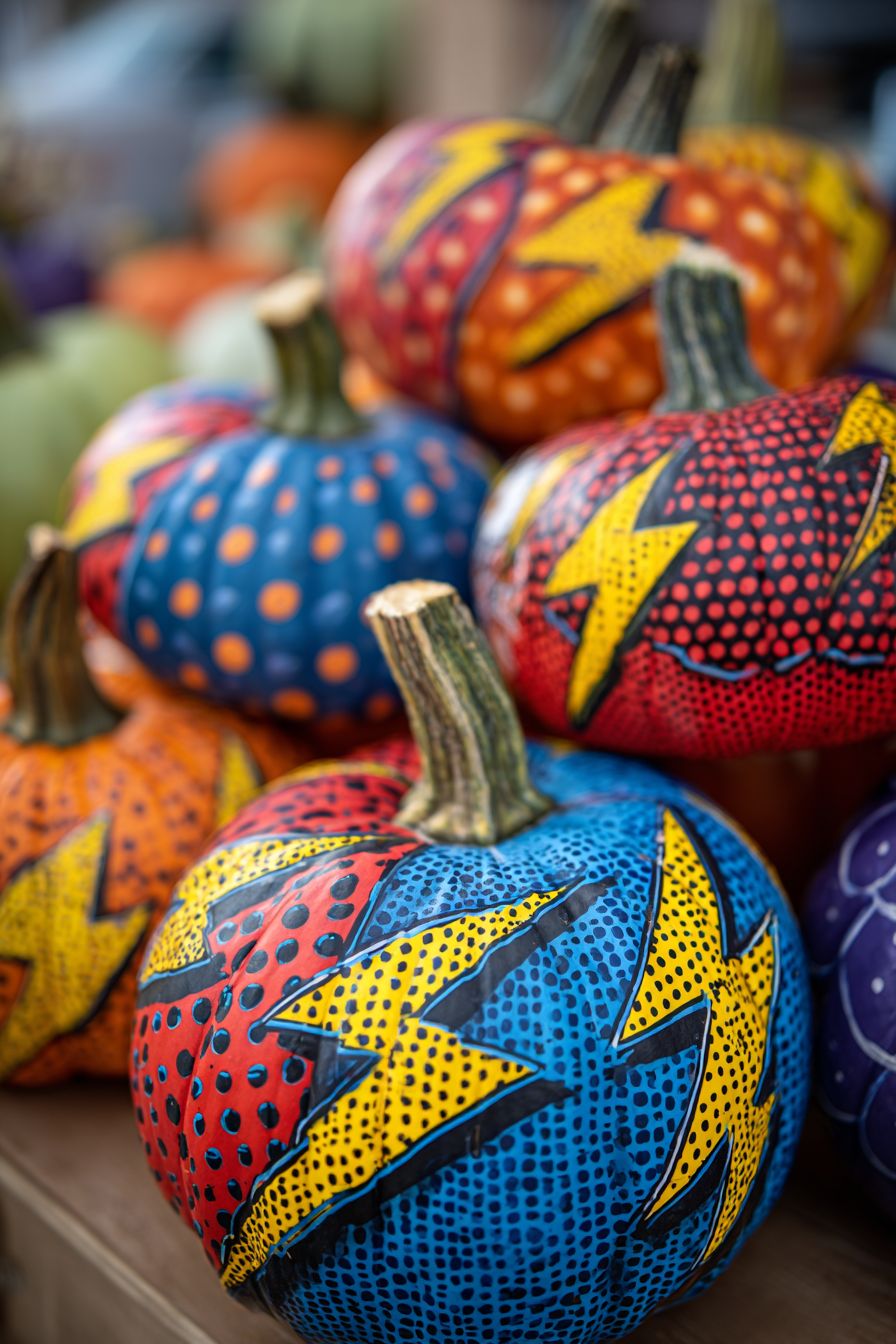
Transform regular pumpkins into playful comic book creations! Start by choosing bold, vibrant colors like classic red, bright yellow, or electric blue. Use acrylic paint to create striking, sharp lines and shapes that mimic comic book art.
Once you’ve painted your pumpkins, grab a fine-tip paint marker or even adhesive vinyl to add fun phrases like “BOOM!” or “ZAP!” Position these text elements dynamically, perhaps on a slanted angle, to amplify that action-packed vibe.
For an added twist, group them together on your porch or around your living room with comic-themed decorations like speech bubble garlands or superhero figurines. Your guests will love the energetic atmosphere these eye-catching pumpkins bring!
13. Design Enchanted Unicorn Pumpkins with Sparkly Touches

Get ready to unleash your creativity with these enchanting unicorn pumpkins! Start by selecting a few pumpkins—white or pastel works best for that magical vibe. Use sparkly craft paint in shades like pink, purple, or gold and let your little ones cover the pumpkins in whimsical layers of glittery goodness.
For the horns, cut out cone shapes from sturdy colored paper (like shiny gold or iridescent). Create two cones and attach them with a glue gun. For an extra touch, add some faux flowers or sequins around the base of the horn.
Display your magical creations on your porch or as part of your fall decor! You’ll sprinkle joy not just in the crafting, but every time you see your whimsical unicorn pumpkins shining bright. Enjoy the sparkle!
14. Customize Pumpkins with the Initials of Family Members

Personalizing pumpkins with family initials is a delightful way to boost your fall decor and engage everyone in your family! Gather some pumpkins—either real or faux—and choose paint colors that complement your home.
Next, have each family member select their favorite initial. You can either freehand the letters for a fun, artsy touch or use stencils for a polished look. Set up a mini painting station either outside or in a well-ventilated area with paints, brushes, and newspaper to catch any splatters.
When it comes to arrangement, create a warm centerpiece for your dining table with the pumpkins, or scatter them around your porch for a cozy fall vibe. Imagine the joy when the little ones see their initials proudly displayed—it brings a personal touch that makes your home feel truly special!
15. Make Striped Pumpkins Using Painter’s Tape
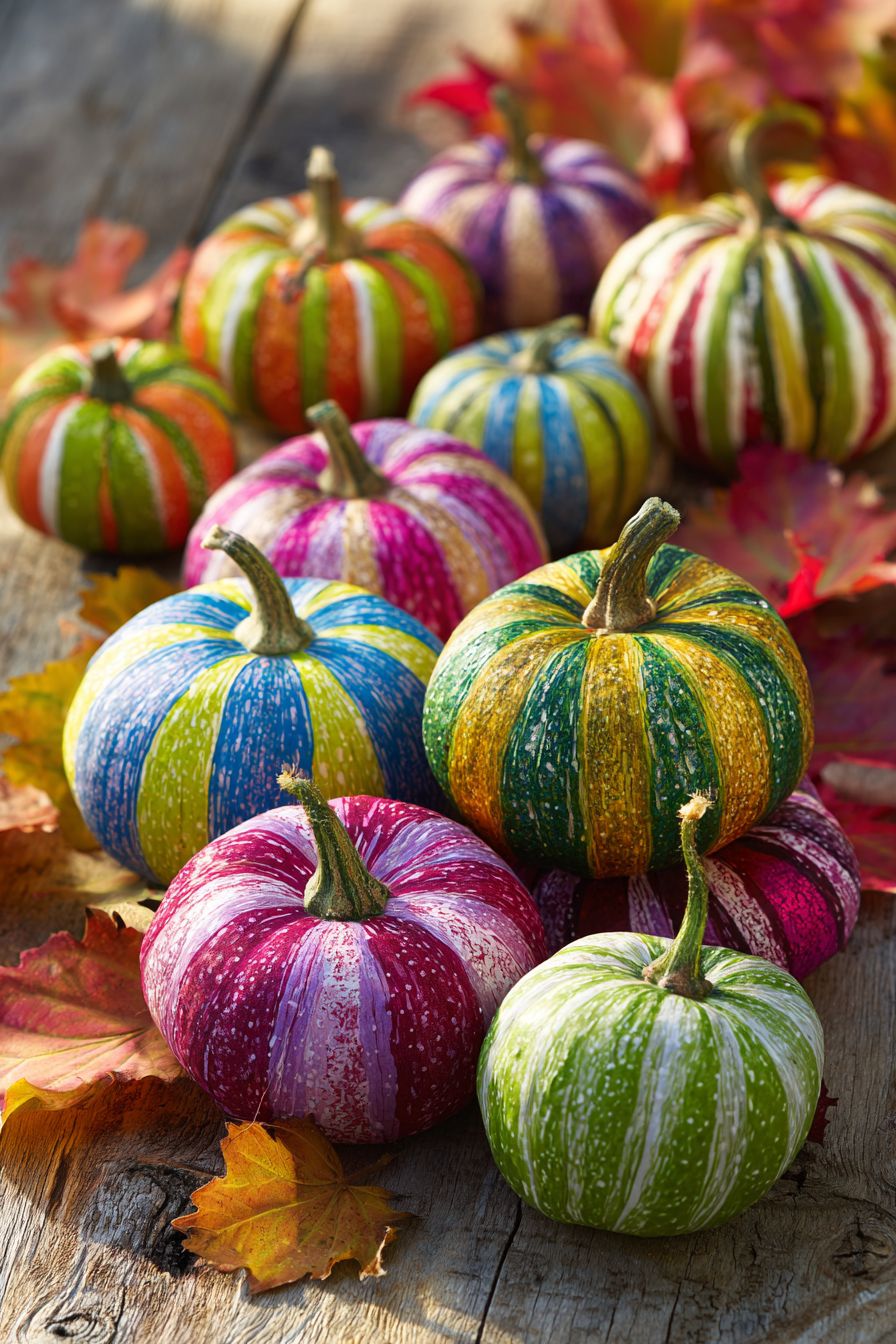
Creating striped pumpkins is an absolute blast and a great way to add some fun flair to your fall decor! Start by grabbing a couple of plain pumpkins—real or faux work just fine. Then, using painter’s tape, simply section off areas on the pumpkin where you want those crisp stripes. Make sure to press the tape down firmly to avoid paint bleed.
Once your design is set, let the kids go wild with their favorite paint colors! You can use acrylic paint for vivid results or even spray paint for a quick cover. After painting, just peel off the tape to reveal those beautiful, clean stripes. Voilà—your pumpkins are ready to strut their stuff on your porch or mantle! This creative project not only livens up your space but also makes for some quality family time. Enjoy!
16. Create an Earthy Camouflaged Pumpkin for Little Nature Enthusiasts
Creating a camouflage pumpkin with earthy hues is a fantastic way to blend seasonal decor with a love for nature! Start by gathering your supplies: a pumpkin, acrylic paints in shades of brown, green, and perhaps a hint of orange, along with a paintbrush and some sponge brushes for texture.
To get started, use your larger paintbrush to cover the pumpkin with a base layer of light brown. Once dry, grab your sponge brushes and dab on darker greens and deeper browns in a random pattern to mimic that cool camouflage effect. When styling your finished pumpkin, place it among pinecones, twigs, or even faux moss for an outdoor vibe—perfect for little adventurers!
Pro tip: Adding a coat of matte sealant can help your creation withstand the elements if you decide to display it outside! This project is not just fun but also a wonderful way to celebrate the beauty of fall!
17. Celebrate Team Spirit with Sport-Themed Painted Pumpkins
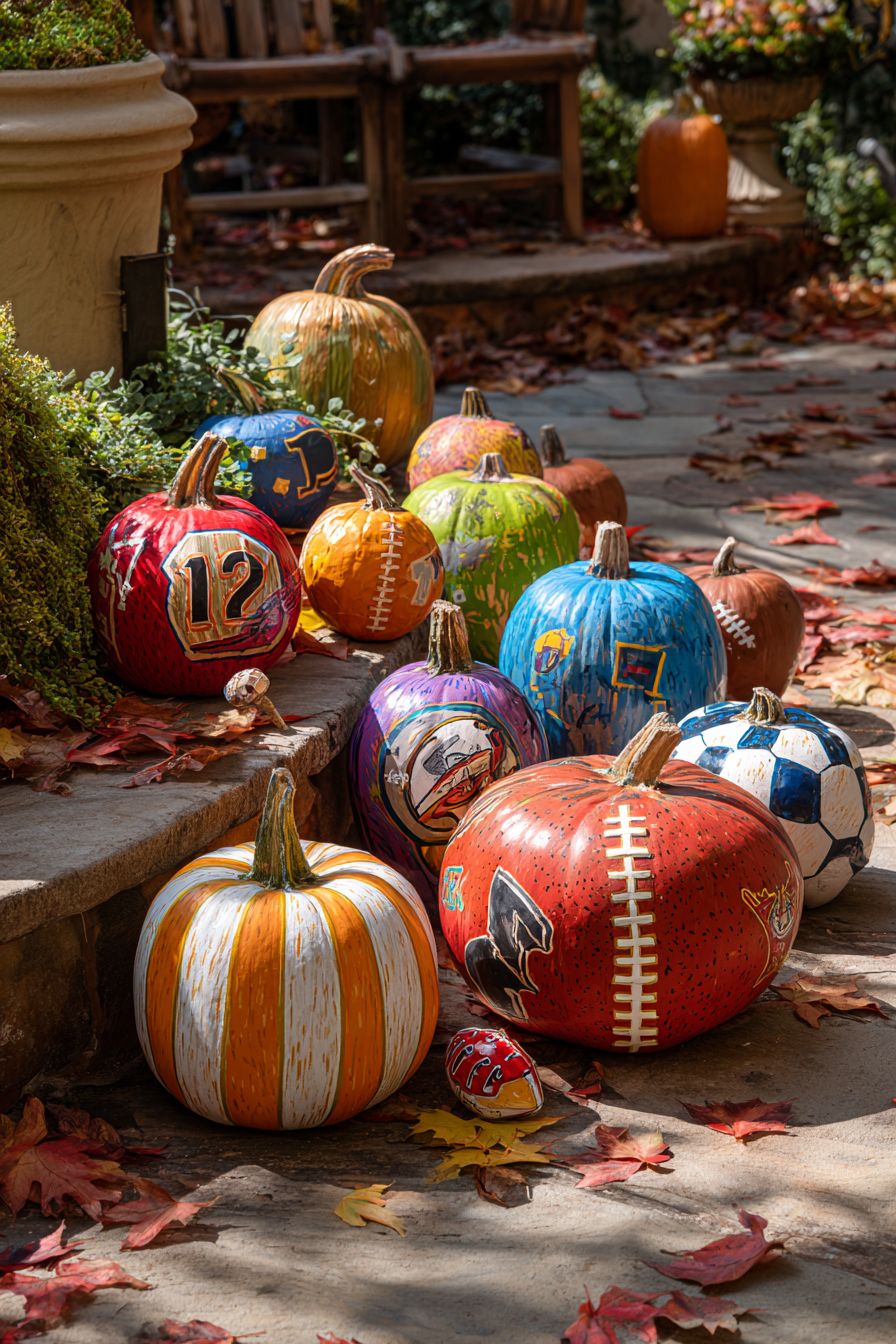
Fall festivities meet sports spirit with these fun team-themed pumpkins! Start by gathering some pumpkins and your favorite paint colors that represent your team’s palette. If you’re feeling adventurous, grab some stencils or print out your team’s logo to help create that perfect design.
For a step-by-step, first, clean your pumpkins and let them dry. Next, apply a base coat of your team’s primary color, allowing it to dry fully before adding accents or logos. You might even let the kids paint their own mini pumpkin versions of a player jersey—adorable and creative!
Finally, display these festive works of art on your porch or as a centerpiece at your next game day gathering. Not only will they add a pop of color, but they’ll also match the spirited conversations of the season!
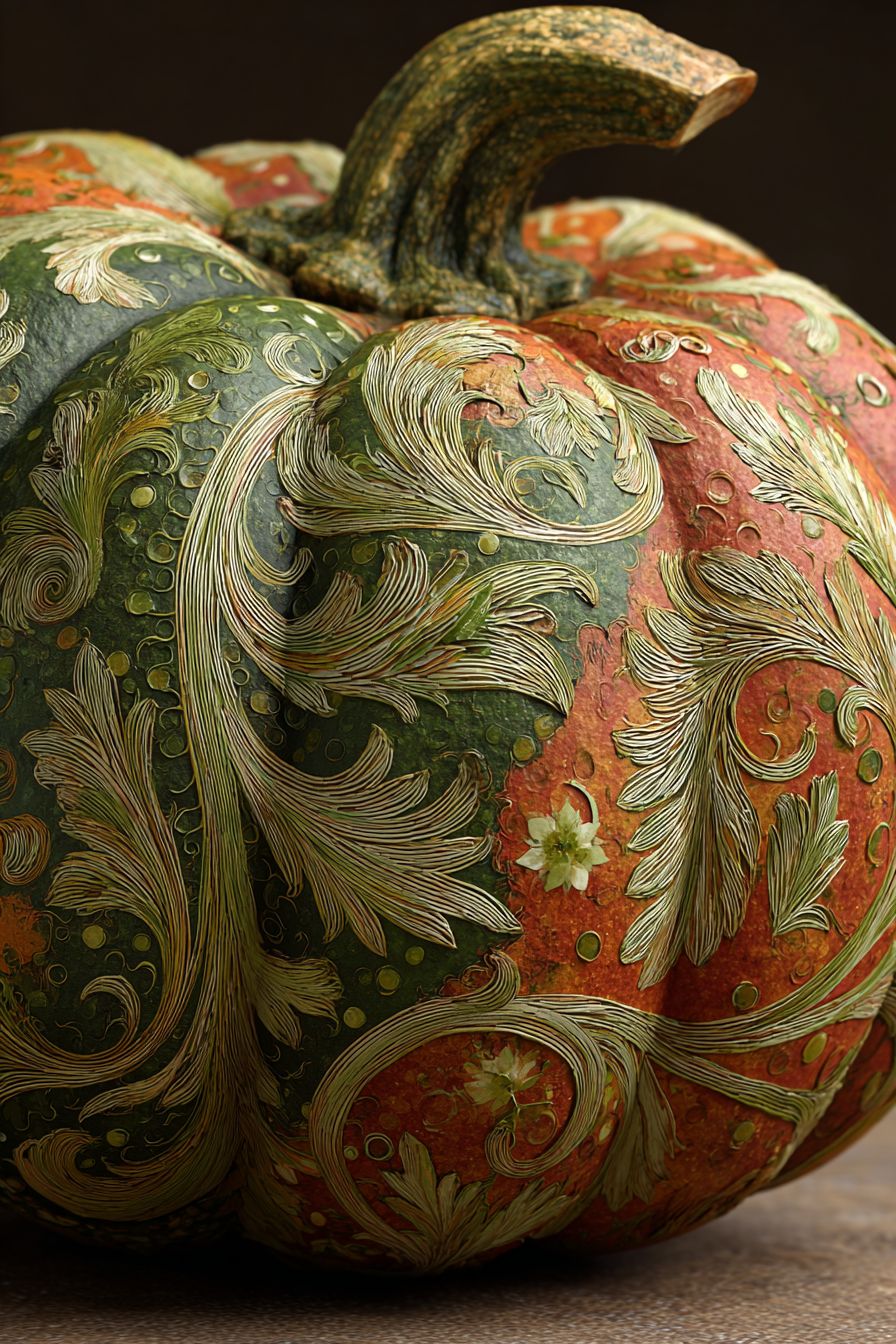
18. Create Serene Mandala-Style Pumpkins

Crafting peaceful mandala pumpkins is not only a great way to get creative but also an enjoyable bonding activity for you and your kids! Start with clean, smooth pumpkins—either traditional or faux—and gather some acrylic paints in vibrant colors.
To create those stunning mandala designs, use a round sponge or stick to apply small dots in patterns. For example, start in the center with a bright yellow dot and radiate outwards using oranges, purples, and blues to create a beautiful contrast. Encourage your little ones to express themselves; every design will be unique!
Once dried, these mandala pumpkins make for delightful table centerpieces or porch decorations. You’ll love how they add a touch of whimsy and tranquility to your fall decor! Plus, don’t forget to take photos; you’ll want to remember this lovely family project!
19. Decorate Pumpkins with Cheerful Faces and Creative Expressions

Painting pumpkins is an absolute blast, especially when you let the kids take the lead! Grab some acrylic paint in vibrant colors and a variety of small brushes. Start by choosing a pumpkin shape that speaks to you—round, tall, or even warty!
Once you have your pumpkin, sketch out simple expressions like happy, silly, or surprised using a pencil. Then, dive into the painting! For a classic happy face, a big smile with bright eyes will do the trick. Pro tip: add some glitter for an extra pop, or use a matte finish for a cooler vibe.
Remember, there’s no right or wrong here—every pumpkin can have its own quirky personality. Once the paint dries, display them on your porch or in your home for a cheerful autumn touch!
So there you have it—19 fantastic, no-carve painted pumpkin ideas that are just begging to come to life with your kids! How fun is it to think about all the creativity and laughter that awaits as you dive into this colorful project together? Remember, it’s not about perfection; it’s about making memories, and each pumpkin will tell its own vibrant story!
I can’t wait for you to try out these ideas and see how your pumpkins turn out. Just pick what sounds the most fun, gather your supplies, and let your imaginations run wild! Embrace the mess and enjoy every moment—you’ve totally got this! Happy decorating, my friend! 🍂✨
