thefashiontamer.com Fashion Inspirations

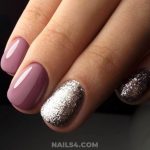
Gel nail art has become increasingly popular in recent years, thanks to its long-lasting and durable finish. Whether you’re a professional nail technician or just someone who loves to experiment with different nail designs, gel nail art is a great way to show off your creativity and style. If you’re new to gel nail art or looking to up your game, this ultimate guide will help you achieve stunning and stylish nails that will turn heads wherever you go.

1. Prep Your Nails Properly: Before you start any gel nail art design, it’s essential to properly prep your nails. Start by shaping and buffing your nails to create a smooth surface. Next, push back your cuticles and remove any excess skin. Lastly, cleanse your nails with a gentle nail cleanser to remove any oils or residue that could interfere with the gel adhering to your nails.
2. Select High-Quality Gel Products: The key to successful gel nail art is using high-quality gel products. Invest in a good quality base coat, color gel, top coat, and curing lamp. Cheaper products may not provide the same level of durability and finish as professional-grade options, so it’s worth spending a little extra for better results.
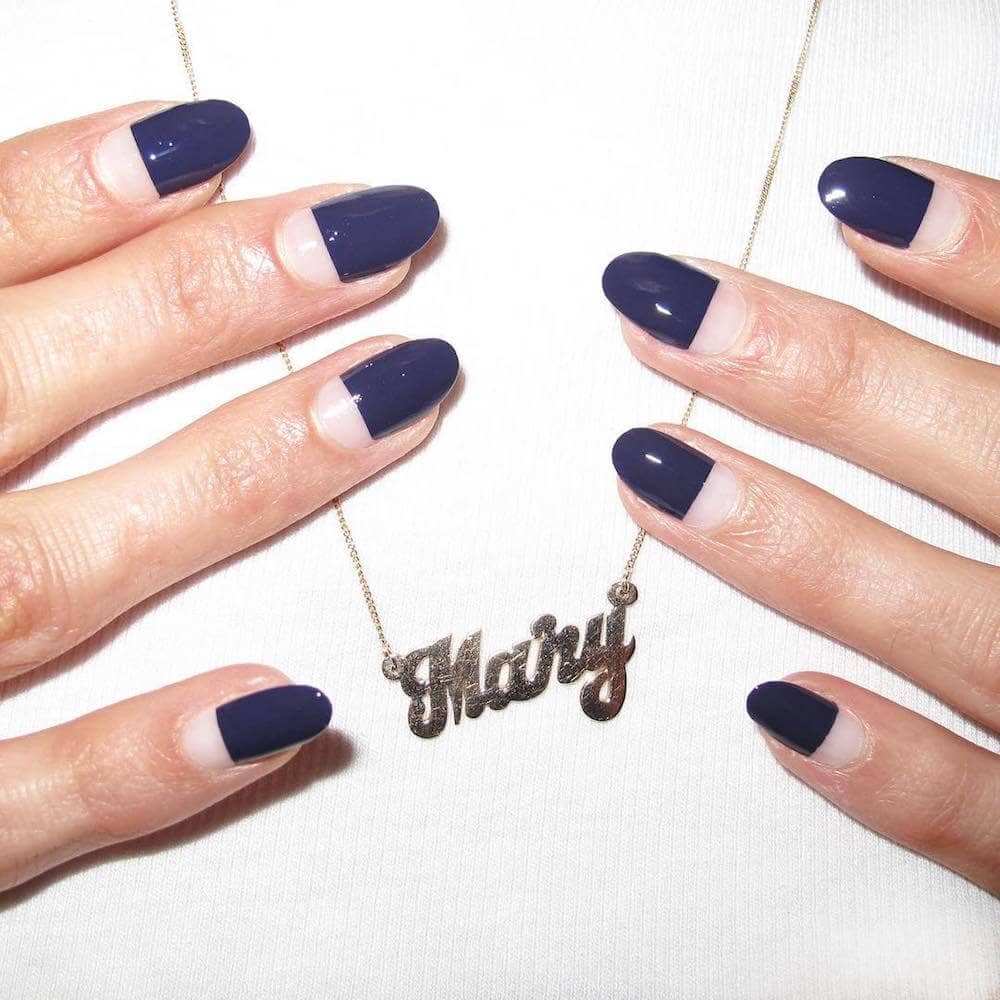
3. Experiment with Different Techniques: Gel nail art offers endless possibilities when it comes to design techniques. From ombre gradients and marble effects to glitter accents and geometric patterns, there are countless ways to create unique and eye-catching nail art. Experiment with different techniques and styles to find what works best for you and matches your personal aesthetic.
4. Practice and Patience: Like any art form, mastering gel nail art takes practice and patience. Don’t get discouraged if your first few attempts don’t turn out exactly how you envisioned. Keep practicing and honing your skills, and soon you’ll be creating flawless gel nail art designs that rival those of professional salons.
5. Keep Your Nails Healthy: While gel nail art can offer a long-lasting and durable finish, it’s essential to prioritize the health and well-being of your natural nails. Make sure to give your nails a break between gel applications to allow them to breathe and recover. Use cuticle oil regularly to keep your nails hydrated and healthy.
6. Seal and Protect Your Design: Once you’ve completed your gel nail art design, seal and protect it with a high-quality top coat. This will help prevent chipping and ensure your design stays looking fresh and vibrant for as long as possible. Don’t forget to cure the top coat under your UV or LED lamp to ensure a long-lasting finish.
With these tips and techniques in mind, you’ll be well on your way to rocking gel nail art like a pro. Whether you’re looking to create intricate designs or simply want a long-lasting manicure that won’t chip or fade, gel nail art is a versatile and stylish option for any nail enthusiast. So grab your gel products, get creative, and show off your unique style with stunning gel nail art designs that are sure to impress.