thefashiontamer.com Fashion Inspirations

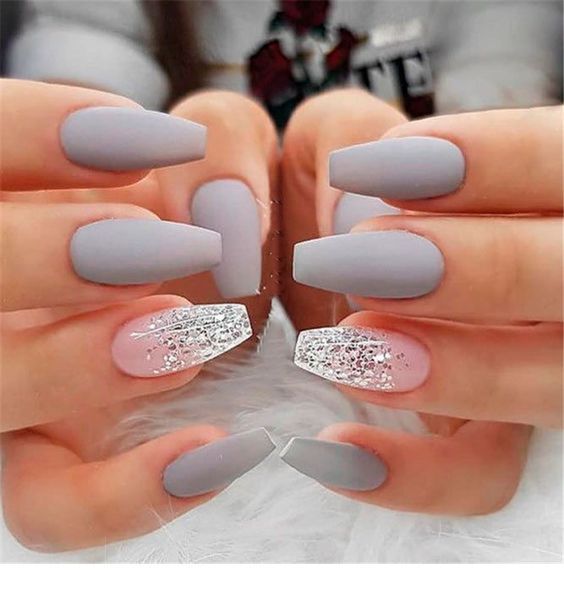
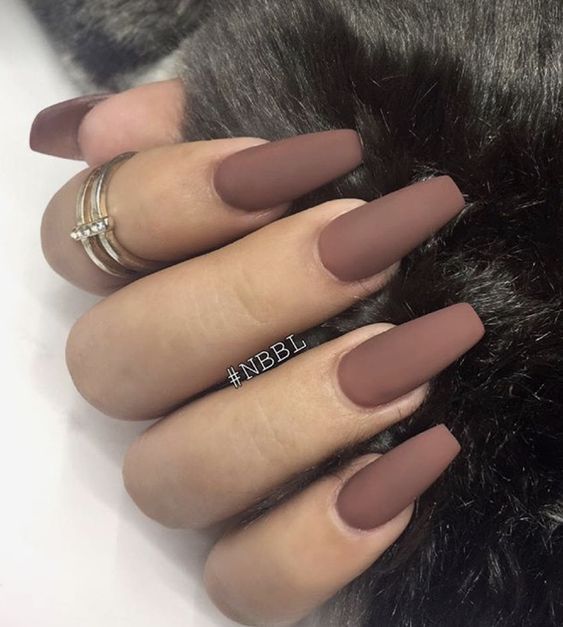
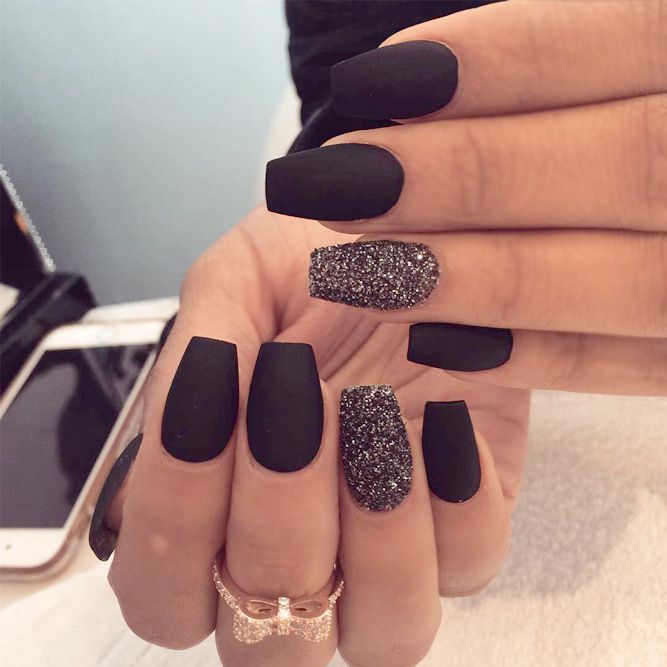
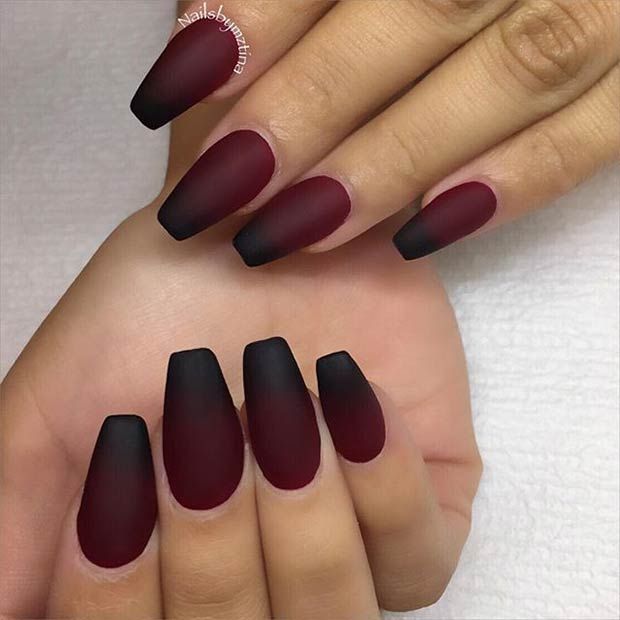
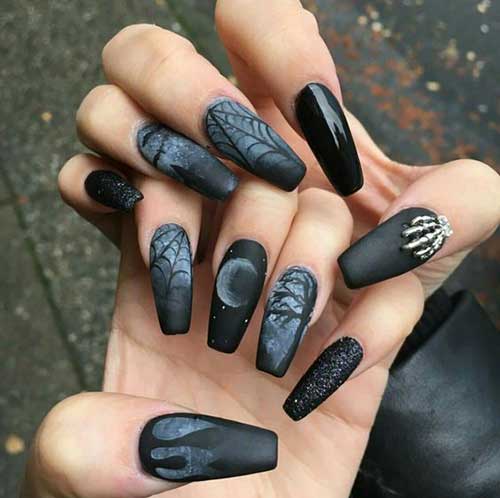
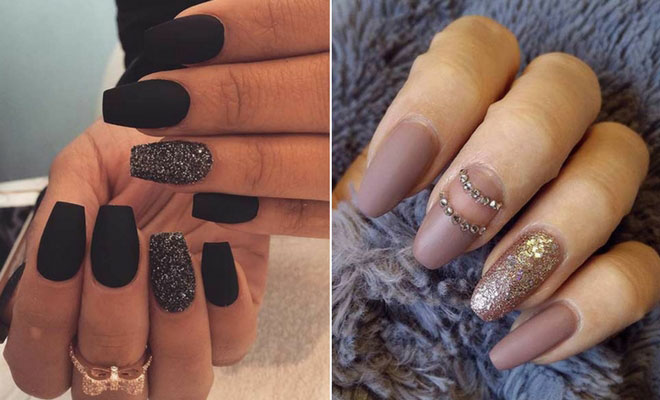
How to get the perfect Matte nail designs At home
- Step 1: Shape and file your nails. If you have chosen matte nail designs coffin For your nail art style, you need to taper your nails up accordingly from the base and then cut square on the free edges. Use video tutorials if you haven’t tried the shape before.
- Step 2: Apply a generous coat of primer to your shaped and filed nails. This ensures that your nails are protected from stains. It also helps to provide a smooth layer for them matte nail polishes to go on and help the paint adhere better.
- Step 3: Apply two coats matte nails pink Hue or any other color of your choice such as red, plum, berry, blue, beige, etc. Deeper colors make for a bolder tone when the mat is set. Any normal good quality paint can be used for this step.
- Step 4: Apply a top coat to smooth out your polish and seal the free edges to make sure you’re well-groomed matte nails Stay good longer. If this is your first time to do a home manicure, covering the free edge means applying a layer of top coat horizontally over the edge of your nails. Let the glossy top coat dry.
- Step 5: Now apply a layer of matte top coat. Starting in the center of the nail, then apply it on one side and then the other, leveling it out if necessary. This technique helps the manicure last longer and provides the sleek and smooth matte finish that everyone wants.
It’s that easy to get the best matte nail designs to suit all your moods without burning a hole in your pocket!